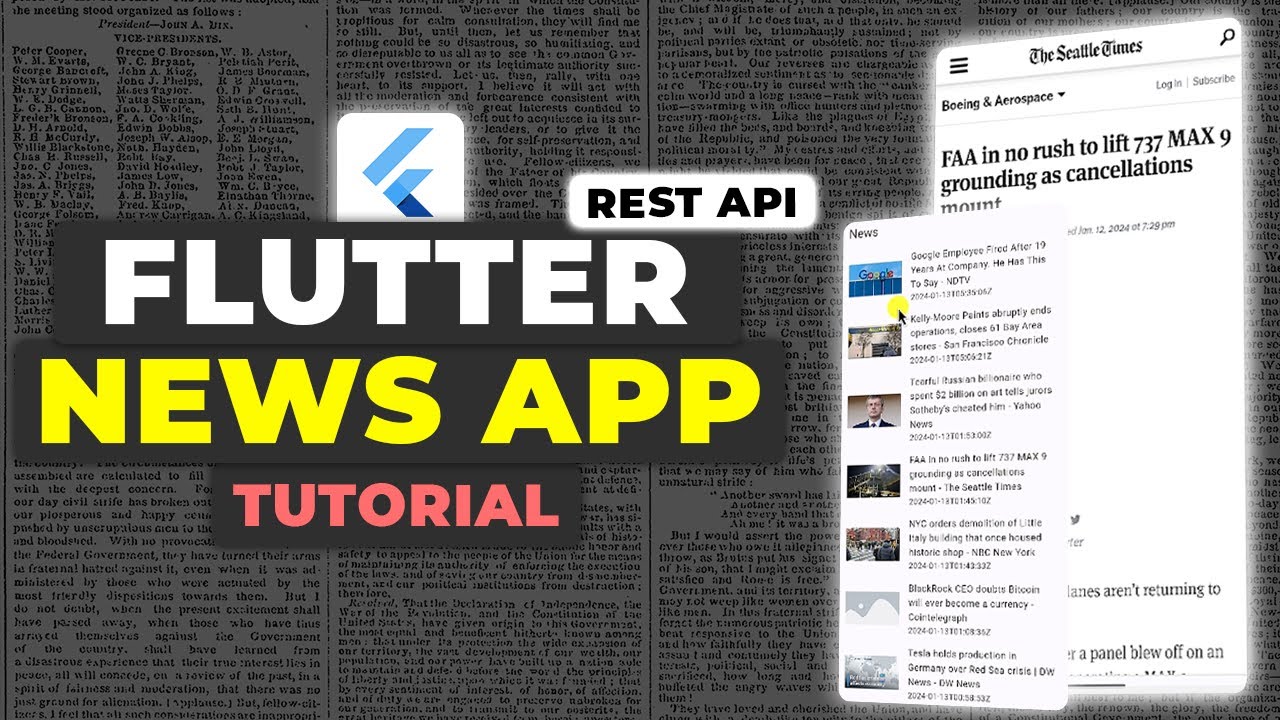
In this detailed guide, we will build a news app using Flutter that fetches and displays news articles from a REST API. You will learn how to set up the Flutter project, obtain the necessary API key, and implement the core features of the app. We will also cover essential aspects like managing network requests, handling data from the API, and displaying it in a user-friendly interface. This tutorial is designed for both beginners and experienced developers, providing clear, step-by-step instructions that will help you create a functional and customizable news app. Whether you’re looking to enhance your Flutter skills or integrate REST APIs into your projects, this guide will offer valuable insights and practical knowledge.
Step 1: Get Your News API Key
To fetch news articles, you’ll need an API key from News API. Sign up, create a project, and copy your API key. You will need this key later in the tutorial.
Step 2: Set Up the Flutter Project
Create a New Flutter Project
Start by creating a new Flutter project:
flutter create news_appTo change the directory run the following command.
cd news_appAdd Dependencies
Next, add the necessary dependencies in your pubspec.yaml file:
- dio:
diois a powerful HTTP client for Dart, used for making API requests and handling responses efficiently. It supports features like request cancellation, interceptors, and response transformers, making network operations easier to manage in Flutter apps. To get the dependency click here. - url_launcher:
Theurl_launcherpackage allows you to launch URLs in the mobile platform’s default web browser or other apps. It’s useful for opening web pages, making phone calls, or sending emails directly from your Flutter application. To get the dependency click here.
dependencies:
  flutter:
    sdk: flutter
  dio: ^4.0.0
  url_launcher: ^6.0.0
Run flutter pub get to install the packages.
flutter pub getStep 3: Create Constants
Constants for API Key and Placeholder Image
Create a new file consts.dart and add your constants:
const String NEWS_API_KEY = "your_api_key_here";
const String PLACEHOLDER_IMAGE_LINK = "https://developers.elementor.com/docs/assets/img/elementor-placeholder-image.png";
Replace "your_api_key_here" with the News API key you obtained earlier.
Step 4: Set Up the Main Application
Main Dart File (main.dart)
This file will serve as the entry point for your application:
import 'package:flutter/material.dart';
import 'pages/home_page.dart';

void main() {
  runApp(const MyApp());
}

class MyApp extends StatelessWidget {
  const MyApp({super.key});

  @override
  Widget build(BuildContext context) {
    return MaterialApp(
      title: 'News App',
      theme: ThemeData(
        colorScheme: ColorScheme.fromSeed(seedColor: Colors.deepPurple),
        useMaterial3: true,
      ),
      home: HomePage(),
    );
  }
}
Step 5: Build the Home Page
Import Packages and Create State
In home_page.dart, start by importing necessary packages and creating the HomePage state:
import 'package:flutter/material.dart';
import 'package:dio/dio.dart';
import 'package:news_app/consts.dart';
import 'package:url_launcher/url_launcher.dart';
import '../models/article.dart';

class HomePage extends StatefulWidget {
  const HomePage({super.key});

  @override
  State<HomePage> createState() => _HomePageState();
}
Initialize Dio and Article List
In the _HomePageState class, initialize Dio for making HTTP requests and create a list to store articles:
class _HomePageState extends State<HomePage> {
  final Dio dio = Dio();
  List<Article> articles = [];

  @override
  void initState() {
    super.initState();
    _getNews();
  }
}
Build the UI
Next, build the user interface to display the news articles:
  @override
  Widget build(BuildContext context) {
    return Scaffold(
      appBar: AppBar(
        title: const Text("News"),
      ),
      body: _buildUI(),
    );
  }

  Widget _buildUI() {
    return ListView.builder(
      itemCount: articles.length,
      itemBuilder: (context, index) {
        final article = articles[index];
        return ListTile(
          onTap: () {
            _launchUrl(Uri.parse(article.url ?? ""));
          },
          leading: Image.network(
            article.urlToImage ?? PLACEHOLDER_IMAGE_LINK,
            height: 250,
            width: 100,
            fit: BoxFit.cover,
          ),
          title: Text(article.title ?? ""),
          subtitle: Text(article.publishedAt ?? ""),
        );
      },
    );
  }
}
Fetch News Articles
Implement the _getNews method to fetch news articles from the API:
  Future<void> _getNews() async {
    final response = await dio.get(
      'https://newsapi.org/v2/top-headlines?country=us&category=business&apiKey=$NEWS_API_KEY',
    );
    final articlesJson = response.data["articles"] as List;
    setState(() {
      List<Article> newsArticle =
          articlesJson.map((a) => Article.fromJson(a)).toList();
      newsArticle = newsArticle.where((a) => a.title != "[Removed]").toList();
      articles = newsArticle;
    });
  }
Launch URLs
Finally, handle URL launching to open articles in a web browser:
  Future<void> _launchUrl(Uri url) async {
    if (!await launchUrl(url)) {
      throw Exception('Could not launch $url');
    }
  }
}
Step 6: Create the Article Model
Define Article Class
Create the Article class to parse the JSON response:
class Article {
  Source? source;
  String? author;
  String? title;
  String? description;
  String? url;
  String? urlToImage;
  String? publishedAt;
  String? content;

  Article({
    this.source,
    this.author,
    this.title,
    this.description,
    this.url,
    this.urlToImage,
    this.publishedAt,
    this.content,
  });

  Article.fromJson(Map<String, dynamic> json) {
    source = json['source'] != null ? Source.fromJson(json['source']) : null;
    author = json['author'];
    title = json['title'];
    description = json['description'];
    url = json['url'];
    urlToImage = json['urlToImage'];
    publishedAt = json['publishedAt'];
    content = json['content'];
  }

  Map<String, dynamic> toJson() {
    final Map<String, dynamic> data = <String, dynamic>{};
    if (source != null) {
      data['source'] = source!.toJson();
    }
    data['author'] = author;
    data['title'] = title;
    data['description'] = description;
    data['url'] = url;
    data['urlToImage'] = urlToImage;
    data['publishedAt'] = publishedAt;
    data['content'] = content;
    return data;
  }
}
Define Source Class
The Source class will handle the article’s source information:
class Source {
  String? id;
  String? name;

  Source({this.id, this.name});

  Source.fromJson(Map<String, dynamic> json) {
    id = json['id'];
    name = json['name'];
  }

  Map<String, dynamic> toJson() {
    final Map<String, dynamic> data = <String, dynamic>{};
    data['id'] = id;
    data['name'] = name;
    return data;
  }
}
Step 7: Fetch and Display News Articles
Fetching News Data
The _getNews() function in home_page.dart is responsible for making the API call and fetching the latest news articles. It uses the Dio package to handle HTTP requests.
Displaying News Articles
The _buildUI() function in home_page.dart constructs the UI by iterating through the list of articles and displaying each one in a ListTile. Users can click on an article to open it in their browser using url_launcher.
Get Source Code for free:
Conclusion
By following these steps, you’ve successfully created a basic news app using Flutter. The app fetches news articles from a REST API and displays them in a list. You can expand this app by adding categories, a search feature, or improving the UI.
Happy coding!


Leave a Reply