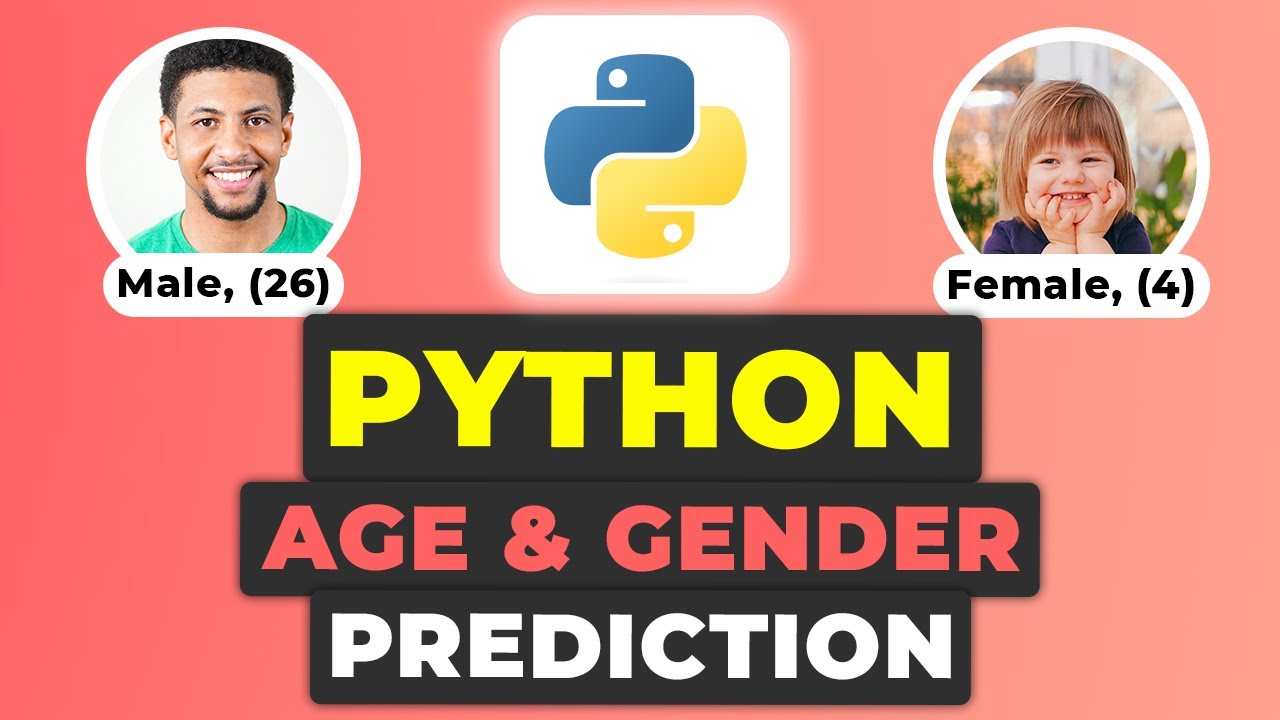
In this tutorial, you will learn how to create a Python script that uses OpenCV and pre-trained neural networks for detection of age and gender of a person in an image. This project involves setting up the necessary dependencies, loading pre-trained models, and running the script to make predictions. Follow these steps to create your own age and gender estimation application.
Introduction
Estimating age and gender from images is an exciting application of computer vision. By leveraging OpenCV and pre-trained neural networks, you can quickly build an application that detects faces and predicts age and gender. This tutorial provides a step-by-step guide to creating such an application.
Libraries and Models
To start, you need to install OpenCV and download the pre-trained models. Here are the libraries and their descriptions:
- OpenCV: A powerful library for computer vision tasks. It helps with image processing and manipulation.
- Pre-trained Models: Neural network models trained to detect faces and predict age and gender.
Setting Up Your Environment
Before diving into the code, ensure you have the necessary libraries installed. You can install OpenCV using pip:
pip install opencv-pythonMake sure to download the models from the provided link and place them in a directory named models.
Reading and Resizing the Image
First, we read and resize the input image. This is necessary to ensure the image fits within the required dimensions for the neural network models.
import cv2

image = cv2.imread('female_1.jpg')
image = cv2.resize(image, (720, 640))
Defining and Loading the Models
Define the paths to the model files and load the models using OpenCV’s DNN module.
face_pbtxt = "models/opencv_face_detector.pbtxt"
face_pb = "models/opencv_face_detector_uint8.pb"
age_prototxt = "models/age_deploy.prototxt"
age_model = "models/age_net.caffemodel"
gender_prototxt = "models/gender_deploy.prototxt"
gender_model = "models/gender_net.caffemodel"
MODEL_MEAN_VALUES = [104, 117, 123]

face = cv2.dnn.readNet(face_pb, face_pbtxt)
age = cv2.dnn.readNet(age_model, age_prototxt)
gen = cv2.dnn.readNet(gender_model, gender_prototxt)
Setting Up Classifications
Define the age and gender classifications that the model will predict.
age_classifications = ['(0-2)', '(4-6)', '(8-12)', '(15-20)', '(25-32)', '(38-43)', '(48-53)', '(60-100)']
gender_classifications = ['Male', 'Female']
Detecting Faces
Detect faces in the image using the face detection model. Draw rectangles around detected faces for visualization.
img_cp = image.copy()
img_h = img_cp.shape[0]
img_w = img_cp.shape[1]
blob = cv2.dnn.blobFromImage(img_cp, 1.0, (300, 300), MODEL_MEAN_VALUES, True, False)

face.setInput(blob)
detected_faces = face.forward()
face_bounds = []

for i in range(detected_faces.shape[2]):
    confidence = detected_faces[0, 0, i, 2]
    if confidence > 0.99:
        x1 = int(detected_faces[0, 0, i, 3] * img_w)
        y1 = int(detected_faces[0, 0, i, 4] * img_h)
        x2 = int(detected_faces[0, 0, i, 5] * img_w)
        y2 = int(detected_faces[0, 0, i, 6] * img_h)
        cv2.rectangle(img_cp, (x1, y1), (x2, y2), (0, 255, 0), int(round(img_h / 150)), 8)
        face_bounds.append([x1, y1, x2, y2])
Predicting Age and Gender
For each detected face, predict the age and gender using the respective models.
if not face_bounds:
    print("No faces were detected.")
    exit()

for face_bound in face_bounds:
    try:
        face = img_cp[max(0, face_bound[1]-15):
                      min(face_bound[3]+15, img_cp.shape[0]-1),
                      max(0, face_bound[0]-15):min(face_bound[2]+15,
                      img_cp.shape[1]-1)]
        blob = cv2.dnn.blobFromImage(face, 1.0, (227, 227), MODEL_MEAN_VALUES, True)

        gen.setInput(blob)
        gender_prediction = gen.forward()
        gender = gender_classifications[gender_prediction[0].argmax()]

        age.setInput(blob)
        age_prediction = age.forward()
        age = age_classifications[age_prediction[0].argmax()]

        cv2.putText(img_cp, f'{gender}, {age}', (face_bound[0], face_bound[1]+10), cv2.FONT_HERSHEY_COMPLEX, 1, (0, 0, 255), 4, cv2.LINE_AA)
    except Exception as e:
        print(e)
        continue
Displaying the Result
Finally, display the image with the predicted age and gender annotations.
cv2.imshow('Result', img_cp)
cv2.waitKey(0)
cv2.destroyAllWindows()
Get Source Code for free:
Conclusion
In this tutorial, you’ve learned how to create an application that estimates the age and gender of a person in an image using OpenCV and pre-trained models. This project demonstrates the power of combining computer vision techniques with pre-trained neural networks to achieve impressive results with minimal effort.
Happy Coding…!!!


Leave a Reply