
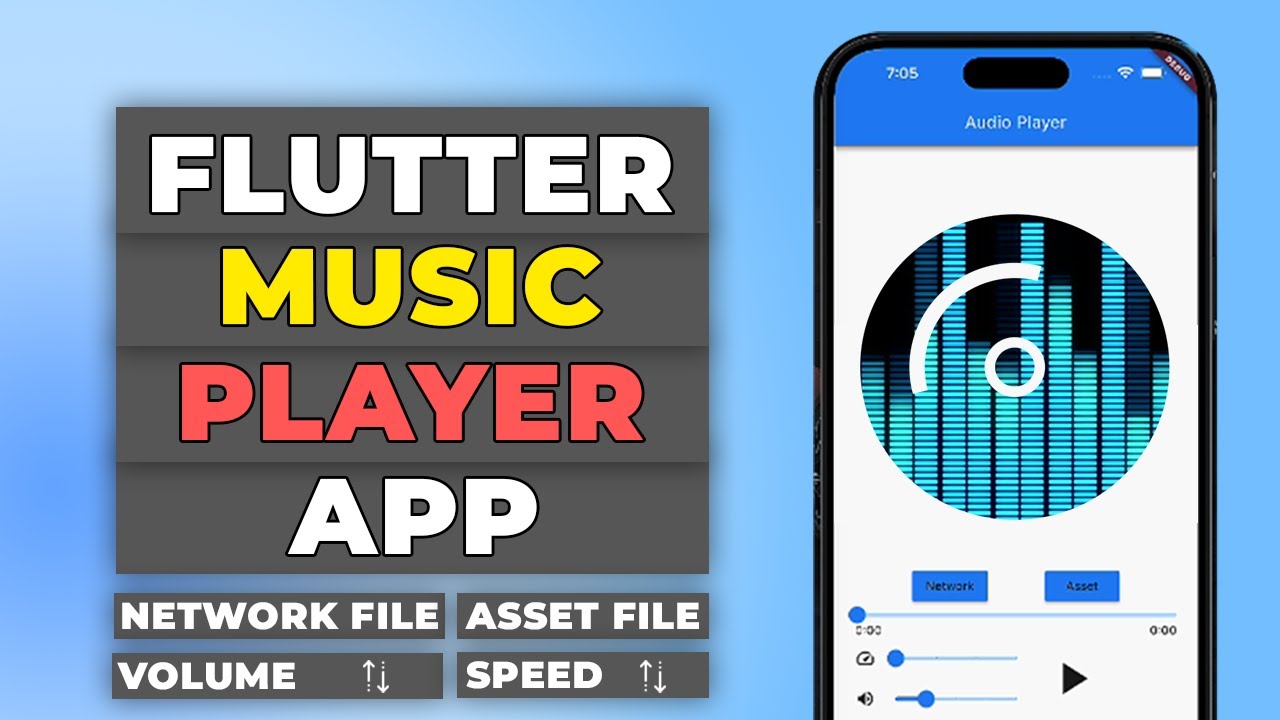
Introducing the Audio Player
In the ever-evolving world of mobile app development, the ability to seamlessly integrate audio playback functionalities has become a crucial aspect. Whether you’re building a music streaming app, a podcast player, or simply want to enhance your app’s user experience with audio elements, having a robust and flexible audio player is essential. In this comprehensive guide, we’ll explore the steps to create a feature-rich audio player within your Flutter application, empowering you to deliver a captivating and immersive experience for your users.
Setting up the Audio Player
To get started, we’ll be utilizing the powerful just_audio plugin, which provides a seamless interface for integrating audio playback capabilities into your Flutter app. Additionally, we’ll be incorporating the audio_video_progress_bar package to display a visually appealing progress bar, allowing users to track the playback progress of their audio content.
First, let’s add the necessary dependencies to your Flutter project by updating the pubspec.yaml file:
dependencies:
  just_audio: ^0.9.31
  audio_video_progress_bar: ^1.0.0
With the dependencies in place, we can now dive into the core functionality of our audio player.
To download dependies click on just_audio and audio_video_progress_bar.
Initializing the Audio Player
At the heart of our audio player is the AudioPlayer instance, which we’ll use to control the playback of our audio content. Let’s create this instance within our HomePage class:
final _player = AudioPlayer();Next, we’ll override the initState() method to ensure that the necessary initialization steps are performed when the widget is first created:
@override
void initState() {
  super.initState();
  WidgetsBinding.instance.addPostFrameCallback((_) => _setupAudioPlayer());
}
The _setupAudioPlayer() function is where we’ll handle the setup and configuration of our audio player. Let’s take a closer look at this function:
Future _setupAudioPlayer() async {
  _player.playbackEventStream.listen((event) {
    // Handle playback events and errors
  }, onError: (Object e, StackTrace stackTrace) {
    print('A stream error occurred: $e');
  });

  try {
    // Load the audio source (from network or asset)
    await _player.setAudioSource(AudioSource.uri(Uri.parse('https://example.com/audio.mp3')));
  } catch (e) {
    print('Error loading audio source: $e');
  }
}
In the _setupAudioPlayer() function, we first set up a listener for the playbackEventStream of the AudioPlayer instance. This allows us to handle any playback events or errors that may occur during the audio playback.
Next, we use a try-catch block to load the audio source. In this example, we’re loading the audio from a network URL, but you can also load audio from local asset files by using the AudioSource.asset() method instead.
Displaying the Playback Controls
Now that we have the audio player set up, let’s create the UI elements to control the playback. We’ll start by adding a button that allows the user to play, pause, and restart the audio:
Widget _playbackControlButton() {
  return StreamBuilder(
    stream: _player.playerStateStream,
    builder: (context, snapshot) {
      final playerState = snapshot.data;
      final processingState = playerState?.processingState;
      final playing = playerState?.playing;

      if (processingState == ProcessingState.loading || processingState == ProcessingState.buffering) {
        return Container(
          width: 64.0,
          height: 64.0,
          margin: const EdgeInsets.all(10.0),
          child: CircularProgressIndicator(),
        );
      } else if (playing != true) {
        return IconButton(
          icon: Icon(Icons.play_arrow, size: 64.0),
          onPressed: _player.play,
        );
      } else if (processingState != ProcessingState.completed) {
        return IconButton(
          icon: Icon(Icons.pause, size: 64.0),
          onPressed: _player.pause,
        );
      } else {
        return IconButton(
          icon: Icon(Icons.replay, size: 64.0),
          onPressed: () => _player.seek(Duration.zero),
        );
      }
    },
  );
}
The _playbackControlButton() function uses a StreamBuilder to listen to the playerStateStream of the AudioPlayer instance. Based on the current state of the player, it renders the appropriate button (play, pause, or replay) and handles the corresponding actions.
Displaying the Progress Bar
To provide users with a visual representation of the audio playback progress, we’ll incorporate the AudioVideoProgressBar widget from the audio_video_progress_bar package:
Widget _progressBar() {
  return StreamBuilder(
    stream: _player.positionStream,
    builder: (context, snapshot) {
      final position = snapshot.data ?? Duration.zero;
      final duration = _player.duration ?? Duration.zero;
      final bufferedPosition = _player.bufferedPosition;

      return AudioVideoProgressBar(
        progress: position,
        total: duration,
        buffered: bufferedPosition,
        onSeek: (duration) {
          _player.seek(duration);
        },
      );
    },
  );
}
The _progressBar() function also uses a StreamBuilder to listen to the positionStream of the AudioPlayer instance. It then passes the current position, total duration, and buffered position to the AudioVideoProgressBar widget, allowing users to scrub through the audio and seek to a specific position.
Adding Playback Speed and Volume Controls
To further enhance the user experience, we’ll add controls for adjusting the playback speed and volume of the audio:
Widget _controlButtons() {
  return Column(
    children: [
      _speedSlider(),
      _volumeSlider(),
    ],
  );
}

Widget _speedSlider() {
  return StreamBuilder(
    stream: _player.speedStream,
    builder: (context, snapshot) {
      final speed = snapshot.data ?? 1.0;
      return Row(
        children: [
          const Icon(Icons.speed),
          Expanded(
            child: Slider(
              min: 1.0,
              max: 3.0,
              divisions: 3,
              value: speed,
              onChanged: _player.setSpeed,
            ),
          ),
        ],
      );
    },
  );
}

Widget _volumeSlider() {
  return StreamBuilder(
    stream: _player.volumeStream,
    builder: (context, snapshot) {
      final volume = snapshot.data ?? 1.0;
      return Row(
        children: [
          const Icon(Icons.volume_up),
          Expanded(
            child: Slider(
              min: 0.0,
              max: 1.0,
              divisions: 4,
              value: volume,
              onChanged: _player.setVolume,
            ),
          ),
        ],
      );
    },
  );
}
The _controlButtons() function groups the speed and volume sliders into a single column. The _speedSlider() and _volumeSlider() functions use StreamBuilders to listen to the speedStream and volumeStream of the AudioPlayer instance, respectively. This allows users to adjust the playback speed and volume of the audio using the provided sliders.
Switching Between Audio Sources
To give users the ability to switch between different audio sources (e.g., network or asset), we’ll add a set of buttons that allow them to select the desired source:
Widget _sourceSelect() {
  return Row(
    children: [
      MaterialButton(
        color: Colors.purple,
        child: Text('Network'),
        onPressed: () => _setupAudioPlayer(AudioSourceOption.network),
      ),
      MaterialButton(
        color: Colors.purple,
        child: Text('Asset'),
        onPressed: () => _setupAudioPlayer(AudioSourceOption.asset),
      ),
    ],
  );
}
The _sourceSelect() function creates a row of two buttons, one for “Network” and one for “Asset”. When a user clicks on a button, the _setupAudioPlayer() function is called with the corresponding AudioSourceOption value, allowing the audio player to load the appropriate audio source.
Putting it All Together
Finally, let’s integrate all the components we’ve created into the main build() method of our HomePage widget:
@override
Widget build(BuildContext context) {
  return Scaffold(
    appBar: AppBar(
      title: Text('Audio Player'),
    ),
    body: SafeArea(
      child: Column(
        children: [
          _sourceSelect(),
          _playbackControlButton(),
          _progressBar(),
          _controlButtons(),
        ],
      ),
    ),
  );
}
The main build() method sets up the overall structure of the app, including the AppBar and a Column that contains the various components we’ve created: the source selection buttons, the playback control button, the progress bar, and the playback speed and volume controls.
Get Source Code for free:
Conclusion
In this comprehensive guide, we’ve explored the steps to create a feature-rich audio player within a Flutter application. By leveraging the just_audio and audio_video_progress_bar packages, we’ve built a versatile audio player that allows users to play audio from both network sources and local asset files, control the playback speed and volume, and monitor the progress of the audio playback.
This guide should serve as a solid foundation for integrating audio playback capabilities into your Flutter projects, empowering you to deliver engaging and immersive user experiences. Remember, the world of mobile app development is constantly evolving, so stay tuned for more exciting updates and advancements in the realm of Flutter audio integration.


Leave a Reply