
Introduction
In today’s tutorial, we’re going to explore how to use the Hive database within your Flutter app. We’ll cover the entire process, from setting up dependencies to creating a to-do app. This guide ensures that the code is well-structured, maintainable, and type-safe.
If you prefer watching a video tutorial here is a link to that.
Once you have Flutter connected to Hive, follow along as we build a Hive to-do app in Flutter.
Overview
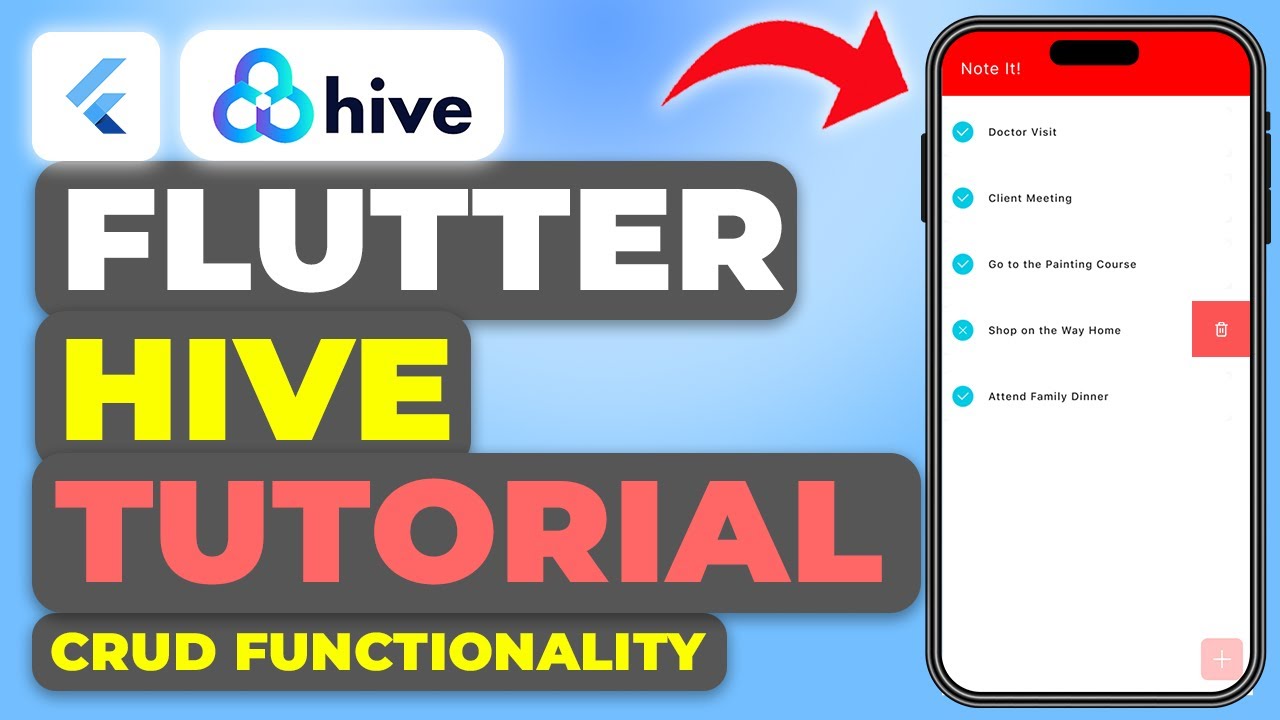
We’ll build a Flutter application that uses Hive for storing and managing data. The app will have a simple to-do list functionality where users can add, update, delete, and check off tasks.
Prerequisites
Before we start, make sure you have the following:
- Flutter installed on your machine
- Basic understanding of Dart and Flutter
Setting Up the Project
Step 1: Create a New Flutter Project
Create a new Flutter project using the command:
flutter create hive_appRun the following command to switvh into this directory.
cd hive_appStep 2: Add Dependencies
In the pubspec.yaml file, add the following dependencies for Hive and path provider:
dependencies:
  flutter:
    sdk: flutter
  hive: latest_version
  hive_flutter: latest_version
  path_provider: latest_version
To get the dependency click here.
Run flutter pub get to install the dependencies.
flutter pub getMain Application File
Initializing Hive in main.dart
In main.dart, set up the basic structure of the Flutter app and initialize Hive.
import 'package:flutter/material.dart';
import 'package:hive/hive.dart';
import 'package:hive_flutter_tutorial_yt/pages/home_page.dart';
import 'package:path_provider/path_provider.dart';

void main() async {
  WidgetsFlutterBinding.ensureInitialized();
  final documentsDir = await getApplicationDocumentsDirectory();
  Hive.init(documentsDir.path);
  runApp(const MyApp());
}

class MyApp extends StatelessWidget {
  const MyApp({super.key});

  @override
  Widget build(BuildContext context) {
    return MaterialApp(
      title: 'Flutter Demo',
      theme: ThemeData(
        colorScheme: ColorScheme.fromSeed(seedColor: Colors.red),
        useMaterial3: true,
      ),
      home: HomePage(),
    );
  }
}
Creating the Home Page
In home_page.dart, create the UI for adding, displaying, and managing to-dos.
Importing Dependencies
import 'package:flutter/material.dart';
import 'package:hive_flutter/hive_flutter.dart';
Setting Up the HomePage Stateful Widget
class HomePage extends StatefulWidget {
  const HomePage({super.key});

  @override
  State<HomePage> createState() => _HomePageState();
}
Initializing State and Opening Hive Box
class _HomePageState extends State<HomePage> {
  final TextEditingController _textEditingController = TextEditingController();
  Box? _todosBox;

  @override
  void initState() {
    super.initState();
    Hive.openBox("todos_box").then((_box) {
      setState(() {
        _todosBox = _box;
      });
    });
  }
Building the Scaffold
  @override
  Widget build(BuildContext context) {
    return Scaffold(
      appBar: AppBar(
        title: const Text(
          "Note It!",
          style: TextStyle(
            color: Colors.white,
          ),
        ),
        backgroundColor: Colors.red,
      ),
      body: _buildUI(),
      floatingActionButton: FloatingActionButton(
        onPressed: () => _displayTextInputDialog(context),
        child: const Icon(
          Icons.add,
        ),
      ),
    );
  }
Building the UI
Constructing the Main UI
The _buildUI method sets up the main structure of the home page.
Widget _buildUI() {
  if (_todosBox == null) {
    return const Center(
      child: CircularProgressIndicator(),
    );
  }
  return ValueListenableBuilder(
      valueListenable: _todosBox!.listenable(),
      builder: (context, box, widget) {
        final todosKeys = box.keys.toList();
        return SizedBox.expand(
          child: ListView.builder(
            itemCount: todosKeys.length,
            itemBuilder: (context, index) {
              Map todo = _todosBox!.get(todosKeys[index]);
              return ListTile(
                title: Text(todo["content"]),
                subtitle: Text(todo["time"]),
                onLongPress: () async {
                  await _todosBox!.delete(todosKeys[index]);
                },
                trailing: Checkbox(
                  value: todo["isDone"],
                  onChanged: (value) async {
                    todo["isDone"] = value;
                    await _todosBox!.put(todosKeys[index], todo);
                  },
                ),
              );
            },
          ),
        );
      });
}
Creating the Input Dialog
The _displayTextInputDialog method handles user input for adding new to-dos.
Future<void> _displayTextInputDialog(BuildContext context) async {
  return showDialog(
      context: context,
      builder: (context) {
        return AlertDialog(
          title: const Text('Add a todo'),
          content: TextField(
            controller: _textEditingController,
            decoration: const InputDecoration(hintText: "Todo...."),
          ),
          actions: [
            MaterialButton(
              color: Colors.red,
              textColor: Colors.white,
              child: const Text('Ok'),
              onPressed: () {
                _todosBox?.add({
                  "content": _textEditingController.text,
                  "time": DateTime.now().toIso8601String(),
                  "isDone": false,
                });
                Navigator.pop(context);
                _textEditingController.clear();
              },
            ),
          ],
        );
      });
  }
}
Running the Application
With everything set up, run your application. You should see an app with a simple to-do list where you can add, update, and delete tasks.
Get Source Code for free:
Conclusion
In this tutorial, we built a Flutter application that integrates with the Hive database to manage a to-do list. This functionality is essential for creating dynamic and user-friendly applications.
Happy coding!


Leave a Reply