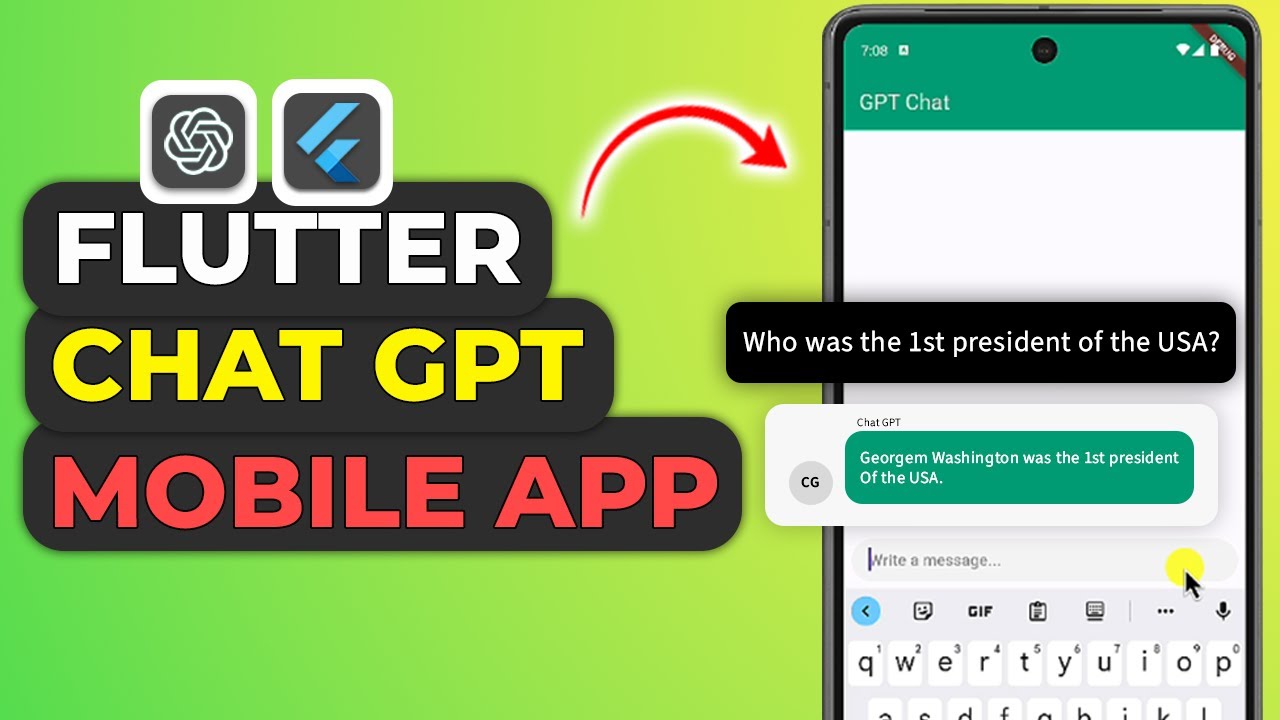
In the rapidly growing field of mobile development, integrating artificial intelligence (AI) has become a cutting-edge strategy to enhance user engagement and functionality. Today we explore a comprehensive guide on how to incorporate OpenAI’s ChatGPT into a Flutter application, leveraging the AI’s capabilities to drive impressive, conversational user interfaces.
If you prefer watching a video tutorial on building an AI-powered Chatbot application in Flutter using OpenAI ChatGPT here is a link to that.
Setting up the Project
Initializing a Flutter Project
Begin your journey by initializing an empty Flutter project. This acts as a clean slate, ensuring that the integrations and customizations added are clear and effectively implemented without previous configurations causing any conflicts.
Open your terminal or command prompt and navigate to the directory where you want to create your project. Once you’re in the desired directory, you can run the command:
flutter create chatgpt_flutter_appYou can also create the project by following these steps:
- Open Android Studio.
- Go to “File” > “New” > “New Flutter Project”.
- Choose the “Flutter Application” option and click “Next”.
- Enter the project name (e.g., “chatgpt_flutter_app”) and its location.
- Click “Next”.
- Choose your desired Flutter SDK path.
- Click “Finish”.
Additionally, in the app’s build.gradle file, ensure that the minSdkVersion is set to at least 21
Installing Essential Dependencies
For this project, two main dependencies are necessary: dash_chat_2 and chat_gpt_sdk.
Dash Chat 2: This UI kit is instrumental in creating a chat-like user interface within the application. It simplifies the development process by providing the necessary components to mimic a chat system. To download this dependency click here.
Chat GPT SDK: This is an unofficial community-maintained API wrapper for OpenAI’s APIs, written in Dart. It facilitates communication with OpenAI’s API, allowing the Flutter app to send and receive messages from ChatGPT. To download this dependency click here.
dependencies:
  flutter:
    sdk: flutter
  dash_chat_2: ^version_number
  chat_gpt_sdk: ^version_number
Obtaining and Storing an OpenAI API Key
With the dependencies set, the next step involves obtaining an OpenAI API key.
Follow these steps to get your API key:
- Go to the OpenAI platform website at https://platform.openai.com/.
- Navigate to the “API Keys” section and click on “Create a new secret key”.
- Give the key a name (e.g., “Flutter Tutorial”) and click “Create secret key”.
- Copy the generated API key and store it securely. We’ll use this key in our Flutter app.
Create a cons.dart file in your Flutter project’s lib folder. Store the API key in this file using a constant variable, ensuring it remains secure and accessible throughout your application.
const OPENAI_API_KEY = "YOUR_OPENAI_API_KEY_HERE";Crafting the Chat Page
Simplifying the Main File
Upon setting up the basic configurations and storing the API key, redirect to the main.dart file. Remove any boilerplate code that Flutter includes by default to streamline your project.
import 'package:chatgpt_flutter_app/pages/chat_page.dart';
import 'package:flutter/material.dart';

void main() {
  runApp(const MyApp());
}

class MyApp extends StatelessWidget {
  const MyApp({super.key});

  @override
  Widget build(BuildContext context) {
    return MaterialApp(
      title: 'Flutter Demo',
      theme: ThemeData(
        colorScheme: ColorScheme.fromSeed(seedColor: Colors.deepPurple),
        useMaterial3: true,
      ),
      home: ChatPage(),
    );
  }
}
Creating the Chat Page Widget
Develop a new ChatPage as a stateful widget, which will manage the state of the chat interface. This widget will play a crucial role in handling the dynamic aspects of chatting, such as displaying messages in real-time.
In the build method of this widget, include a Scaffold widget, which provides a framework for material design widgets. An AppBar can be added for aesthetic and navigational purposes.
class ChatPage extends StatefulWidget {
  const ChatPage({super.key});

  @override
  State<ChatPage> createState() => _ChatPageState();
}
  @override
  Widget build(BuildContext context) {
    return Scaffold(
      appBar: AppBar(
        backgroundColor: const Color.fromRGBO(
          0,
          166,
          126,
          1,
        ),
        title: const Text(
          'GPT Chat',
          style: TextStyle(
            color: Colors.white,
          ),
        ),
      ),
    }
Setting Up the DashChat Widget
Within the scaffold, implement the DashChat widget. This widget requires several parameters:
- CurrentUser: Designate a user for the session. This example uses a placeholder user with specific details.
- OnSend Function: Define this function to handle the sending of messages.
- List of Messages: Initialize an empty list to keep track of conversation messages.
body: DashChat(
  currentUser: _user,
  messageOptions: const MessageOptions(
    currentUserContainerColor: Colors.black,
    containerColor: Color.fromRGBO(
      0,
      166,
      126,
      1,
    ),
    textColor: Colors.white,
  ),
  onSend: (ChatMessage m) {
    getChatResponse(m);
  },
  messages: _messages,
  typingUsers: _typingUsers,
),
Interaction with ChatGPT
Determining User Identity
Create variables representing the user and ChatGPT within the app. These will help differentiate between the sender (user) and receiver (ChatGPT) in the chat interface.
final ChatUser _user = ChatUser(
  id: '1',
  firstName: 'Charles',
  lastName: 'Leclerc',
);
Implementing the OnSend Functionality
The onSend function is crucial as it handles message sending operations. Within this function, include logic to accept a message and use an asynchronous function to fetch responses from ChatGPT.
Future<void> getChatResponse(ChatMessage m) async {
  setState(() {
    _messages.insert(0, m);
    _typingUsers.add(_gptChatUser);
  });
    final request = ChatCompleteText(
      messages: messagesHistory,
      maxToken: 200,
      model: GptTurbo0301ChatModel(),
    );
  final response = await _openAI.onChatCompletion(request: request);
  for (var element in response!.choices) {
    if (element.message != null) {
      setState(() {
        _messages.insert(
            0,
            ChatMessage(
                user: _gptChatUser,
                createdAt: DateTime.now(),
                text: element.message!.content));
      });
    }
  }
}
Maintaining the Conversation
Use state management to keep track of the messages. When a user sends a message, update the conversation’s state to include this new message.
List<Map<String, dynamic>> messagesHistory =
    _messages.reversed.toList().map((m) {
  if (m.user == _user) {
    return Messages(role: Role.user, content: m.text).toJson();
  } else {
    return Messages(role: Role.assistant, content: m.text).toJson();
  }
}).toList();
Enhancing the Chat UI
To make the chat interface intuitive and user-friendly, customize the appearance of chat messages. Differentiate between user messages and responses from ChatGPT using colors and styles.
currentUserContainerColor: Colors.black,
containerColor: Color.fromRGBO(
  0,
  166,
  126,
  1,
),
textColor: Colors.white,
Integrating OpenAI’s API
Initializing the OpenAI Instance
Construct an instance of the OpenAI class with the API key. This instance is pivotal for connecting to the OpenAI server and sending message requests.
final _openAI = OpenAI.instance.build(
    token: OPENAI_API_KEY,
    baseOption: HttpSetup(
      receiveTimeout: const Duration(seconds: 5),
    ),
Crafting Message Requests
For effective interaction, create a history of messages sent during the session. Reverse this list as ChatGPT needs to receive the messages in reverse order to understand the context properly.
List<Map<String, dynamic>> messagesHistory =
    _messages.reversed.toList().map((m) {
  if (m.user == _user) {
    return Messages(role: Role.user, content: m.text).toJson();
  } else {
    return Messages(role: Role.assistant, content: m.text).toJson();
  }
}).toList();
final request = ChatCompleteText(
  messages: messagesHistory,
  maxToken: 200,
  model: GptTurbo0301ChatModel(),
);
Handling API Responses
Send the compiled message history to ChatGPT and handle the responses. Insert responses into the chat interface, creating a seamless conversation flow.
final response = await _openAI.onChatCompletion(request: request);
for (var element in response!.choices) {
  if (element.message != null) {
    setState(() {
      _messages.insert(
          0,
          ChatMessage(
              user: _gptChatUser,
              createdAt: DateTime.now(),
              text: element.message!.content));
    });
  }
}
Displaying Typing Indicators
Enhance user experience by showing when ChatGPT is ‘typing’. Implement a list that tracks typing status and updates the chat interface accordingly.
setState(() {
  _typingUsers.remove(_gptChatUser);
});
Get Source Code for free:
Conclusion
Implementing ChatGPT within a Flutter app not only showcases how developers can create more engaging applications but also highlights the potential of AI in enhancing user interactions. By following the above steps, you can successfully integrate a robust AI-powered chat feature into your mobile application, creating dynamic and interactive experiences for users.
As AI technology evolves, the integration of such features will likely become standard in mobile app development, making now an ideal time to start exploring and implementing these capabilities. Whether for customer service bots, interactive story apps, or educational tools, the potential applications of ChatGPT in flutter apps are vast and varied. Explore, experiment, and innovate to keep your applications ahead of the curve in the AI revolution.


Leave a Reply