Introduction
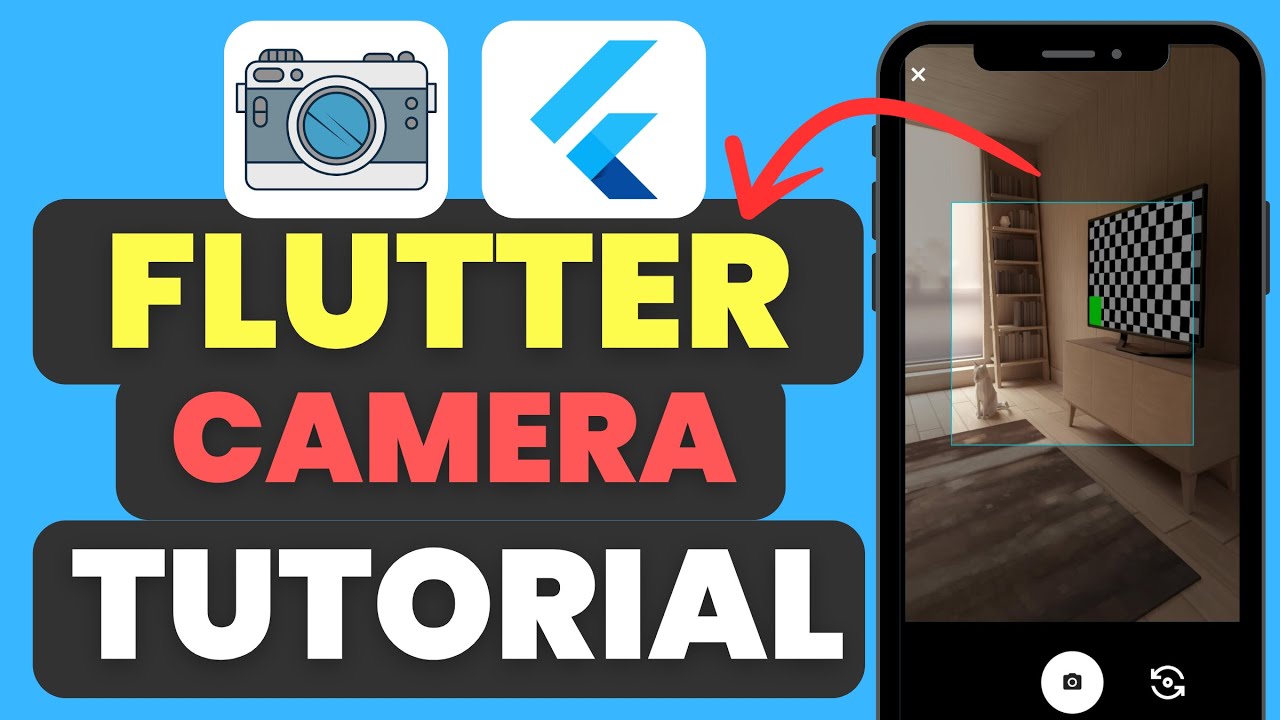
In this tutorial, we explore integrating the camera in a Flutter application. Learn essential steps to set up the camera, handle permissions for both Android and iOS, and implement picture-taking functionality. This guide is ideal for developers wanting detailed step-by-step instructions for integrating camera functionality in their Flutter app.
If you prefer watching a video tutorial on integrating camera in flutter here is a link to that.
Setting Up the Project
Create a New Flutter Project
First, create a new Flutter project using the command:
flutter create camera_appTo change the directory run the following command:
cd camera_appUpdate pubspec.yaml
Ensure you have the necessary dependencies in your pubspec.yaml file:
camera: ^0.9.4+5
The camera package provides the necessary tools to implement camera functionalities in Flutter applications, including capturing photos and videos, switching between cameras, and managing camera settings. To get the dependency click here.
gal: ^1.0.0
The gal package is used for handling image operations in Flutter, such as saving images to the gallery, editing, and managing photo assets, providing a seamless way to manage pictures taken by the camera. To get the dependency click here.
dependencies:
  flutter:
    sdk: flutter
  camera: ^0.9.4+5
  gal: ^1.0.0
Run flutter pub get to install these dependencies.
flutter pub getPlatform-Specific Setup
Android Setup
For Android, you need to add camera permissions in the AndroidManifest.xml file.
<uses-permission android:name="android.permission.CAMERA"/>
<uses-permission android:name="android.permission.WRITE_EXTERNAL_STORAGE"/>
<uses-feature android:name="android.hardware.camera"/>
iOS Setup
For iOS, update the Info.plist file to include camera usage descriptions.
<key>NSCameraUsageDescription</key>
<string>We need access to the camera to take pictures.</string>
<key>NSPhotoLibraryUsageDescription</key>
<string>We need access to the photo library to save pictures.</string>
Main Application Entry Point
Create a main.dart file which will serve as the entry point for the application:
import 'package:flutter/material.dart';
import '../pages/home_page.dart';

void main() {
  runApp(const MyApp());
}

class MyApp extends StatelessWidget {
  const MyApp({super.key});

  @override
  Widget build(BuildContext context) {
    return MaterialApp(
      title: 'Flutter Camera Demo',
      theme: ThemeData(
        colorScheme: ColorScheme.fromSeed(seedColor: Colors.deepPurple),
        useMaterial3: true,
      ),
      home: HomePage(),
    );
  }
}
Creating the Home Page
Next, create a home_page.dart file. This file will contain the main logic for setting up and controlling the camera.
Importing Required Packages
First, import the necessary packages:
import 'package:camera/camera.dart';
import 'package:flutter/material.dart';
import 'package:gal/gal.dart';
Creating the HomePage Widget
Create the HomePage widget as a stateful widget:
class HomePage extends StatefulWidget {
  const HomePage({super.key});

  @override
  State<HomePage> createState() => _HomePageState();
}
State Management and Initialization
Define the state for the HomePage and manage the camera controller:
class _HomePageState extends State<HomePage> with WidgetsBindingObserver {
  List<CameraDescription> cameras = [];
  CameraController? cameraController;

  @override
  void initState() {
    super.initState();
    _setupCameraController();
  }
}
Handling App Lifecycle
Override the lifecycle methods to manage camera resources:
@override
void didChangeAppLifecycleState(AppLifecycleState state) {
  super.didChangeAppLifecycleState(state);
  if (cameraController == null || cameraController?.value.isInitialized == false) {
    return;
  }

  if (state == AppLifecycleState.inactive) {
    cameraController?.dispose();
  } else if (state == AppLifecycleState.resumed) {
    _setupCameraController();
  }
}
Building the User Interface
Construct the UI with a camera preview and a button to take pictures:
@override
Widget build(BuildContext context) {
  return Scaffold(
    body: _buildUI(),
  );
}

Widget _buildUI() {
  if (cameraController == null || cameraController?.value.isInitialized == false) {
    return const Center(
      child: CircularProgressIndicator(),
    );
  }
  return SafeArea(
    child: SizedBox.expand(
      child: Column(
        mainAxisAlignment: MainAxisAlignment.spaceEvenly,
        crossAxisAlignment: CrossAxisAlignment.center,
        children: [
          SizedBox(
            height: MediaQuery.sizeOf(context).height * 0.30,
            width: MediaQuery.sizeOf(context).width * 0.80,
            child: CameraPreview(cameraController!),
          ),
          IconButton(
            onPressed: () async {
              XFile picture = await cameraController!.takePicture();
              Gal.putImage(picture.path);
            },
            iconSize: 100,
            icon: const Icon(Icons.camera, color: Colors.red),
          )
        ],
      ),
    ),
  );
}
Setting Up the Camera Controller
Initialize the camera controller with available cameras:
Future<void> _setupCameraController() async {
  List<CameraDescription> _cameras = await availableCameras();
  if (_cameras.isNotEmpty) {
    setState(() {
      cameras = _cameras;
      cameraController = CameraController(
        _cameras.last,
        ResolutionPreset.high,
      );
    });
    cameraController?.initialize().then((_) {
      if (!mounted) {
        return;
      }
      setState(() {});
    }).catchError((Object e) {
      print(e);
    });
  }
}
Get Source Code for free:
Conclusion
In this tutorial, we covered the basics of integrating a camera into a Flutter application. We went through setting up the project, initializing the camera, handling lifecycle states, and building a simple UI to take pictures. With this foundation, you can now extend the functionality by adding features such as video recording, switching between front and back cameras, and applying filters.


Leave a Reply