
In today’s tutorial, we’ll learn how to create a search bar in Flutter that allows users to filter a list of products fetched from an API. This guide will walk you through the entire process, from setting up the dependencies to implementing the search functionality. Let’s get started!
If you prefer watching a video tutorial on building a search bar in flutter, here is a link to that.
Overview
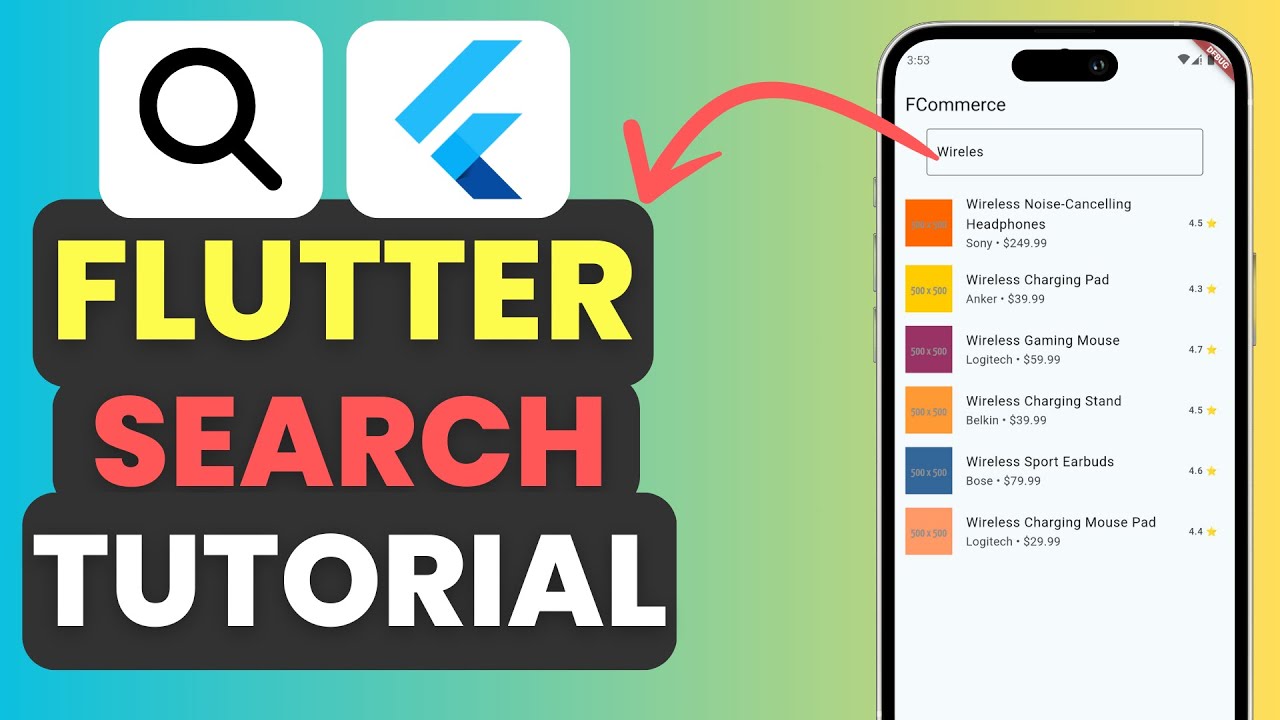
We’ll build a Flutter application that displays a list of products. Users can filter these products using a search bar. The application will fetch product data from an API and display the results based on the user’s search query.
Prerequisites
Before we start, make sure you have the following:
- Flutter installed on your machine
- Basic understanding of Dart and Flutter
Setting Up the Project
Step 1: Create a New Flutter Project
Create a new Flutter project using the command:
flutter create search_bar_appTo navigate into the project directory run the following command.
cd search_bar_appStep 2: Add Dependencies
The only dependency we will be using is dio.
In the pubspec.yaml file, add the following dependency for HTTP networking:
dependencies:
  dio: ^5.4.3+1
  flutter:
    sdk: flutter
To get the dependency click here.
Run flutter pub get to install the dependencies.
flutter pub getMain Application File
In main.dart, set up the basic structure of the Flutter app.
import 'package:flutter/material.dart';
import 'package:search_bar_app/pages/home_page.dart';

void main() {
  runApp(const MyApp());
}

class MyApp extends StatelessWidget {
  const MyApp({super.key});

  @override
  Widget build(BuildContext context) {
    return MaterialApp(
      title: 'Flutter Demo',
      theme: ThemeData(
        colorScheme: ColorScheme.fromSeed(seedColor: Colors.deepPurple),
        useMaterial3: true,
      ),
      home: HomePage(),
    );
  }
}
Creating the Product Model
Create a product.dart file in the models folder to define the Product model.
import 'dart:convert';

class Product {
  final int id;
  final String name;
  final String description;
  final double price;
  final String image;
  final double rating;
  final String brand;
  final String? color;
  final String? connectivity;
  final bool? wireless;

  Product({
    required this.id,
    required this.name,
    required this.description,
    required this.price,
    required this.image,
    required this.rating,
    required this.brand,
    this.color,
    this.connectivity,
    this.wireless,
  });

  factory Product.fromJson(Map<String, dynamic> json) => Product(
    id: json["id"],
    name: json["name"],
    description: json["description"],
    price: json["price"].toDouble(),
    image: json["image"],
    rating: json["rating"].toDouble(),
    brand: json["brand"],
    color: json["color"],
    connectivity: json["connectivity"],
    wireless: json["wireless"],
  );
}
Building the Home Page
Next, create a home_page.dart file in the pages folder. This file will contain the main logic for fetching and displaying the products, as well as the search functionality.
Importing Dependencies
At the top of the home_page.dart file, import the necessary packages and the product model:
import 'package:dio/dio.dart';
import 'package:flutter/material.dart';
import '../models/product.dart';
Creating a Stateful Widget
Define the HomePage stateful widget:
class HomePage extends StatefulWidget {
  const HomePage({super.key});

  @override
  State<HomePage> createState() => _HomePageState();
}

class _HomePageState extends State<HomePage> {
  final Dio _dio = Dio();
  List<Product> _products = [];
Initializing State
Initialize the state and load data in the initState method:
@override
void initState() {
  super.initState();
  _loadData();
}
Fetching Data from the API
Create a method to fetch data from the freetestapi.com API:
void _loadData({String? searchText}) async {
  String url = "https://freetestapi.com/api/v1/products";
  if (searchText != null) {
    url += "?search=$searchText";
  }
  Response res = await _dio.get(url);
  List<Product> products = [];
  if (res.data != null) {
    for (var p in res.data) {
      products.add(Product.fromJson(p));
    }
  }
  setState(() {
    _products = products;
  });
}
Building the Scaffold
Build the main structure of the home page:
@override
Widget build(BuildContext context) {
  return Scaffold(
    resizeToAvoidBottomInset: false,
    appBar: AppBar(
      title: const Text("FCommerce"),
    ),
    body: _buildUI(),
  );
}
Building the UI
The _buildUI method sets up the structure of our UI, including the search bar and the list of products.
Setting Up the Main UI
Define the _buildUI method:
Widget _buildUI() {
  return SizedBox.expand(
    child: Column(
      children: [
        _searchBar(),
        if (_products.isNotEmpty) _productsListView(),
        if (_products.isEmpty)
          const Padding(
            padding: EdgeInsets.all(25.0),
            child: Text("No products found."),
          ),
      ],
    ),
  );
}
Creating the Search Bar
The _searchBar method creates a text field that allows users to input search queries:
Widget _searchBar() {
  return SizedBox(
    width: MediaQuery.sizeOf(context).width * 0.80,
    child: TextField(
      onSubmitted: (value) {
        _loadData(searchText: value);
      },
      decoration: const InputDecoration(
        hintText: "Search....",
        border: OutlineInputBorder(),
      ),
    ),
  );
}
Displaying the Products List
The _productsListView method sets up a ListView to display the fetched products:
Widget _productsListView() {
  return SizedBox(
    height: MediaQuery.sizeOf(context).height * 0.80,
    width: MediaQuery.sizeOf(context).width,
    child: ListView.builder(
      itemCount: _products.length,
      itemBuilder: (context, index) {
        Product product = _products[index];
        return ListTile(
          leading: Image.network(product.image),
          title: Text(product.name),
          subtitle: Text("${product.brand} • \$${product.price}"),
          trailing: Text("${product.rating} ⭐"),
        );
      },
    ),
  );
}
Running the Application
With everything set up, run your application. You should see an app with a search bar at the top and a list of products displayed below. Typing into the search bar will filter the products based on the search query.
Get Source Code for free:
Conclusion
In this tutorial, we built a Flutter application with a search bar that fetches and filters products from an API. This functionality is essential for creating dynamic and user-friendly applications. As always, If you have found this article useful do not forget to share it and leave a comment if you have any questions.
Happy coding!


Leave a Reply