
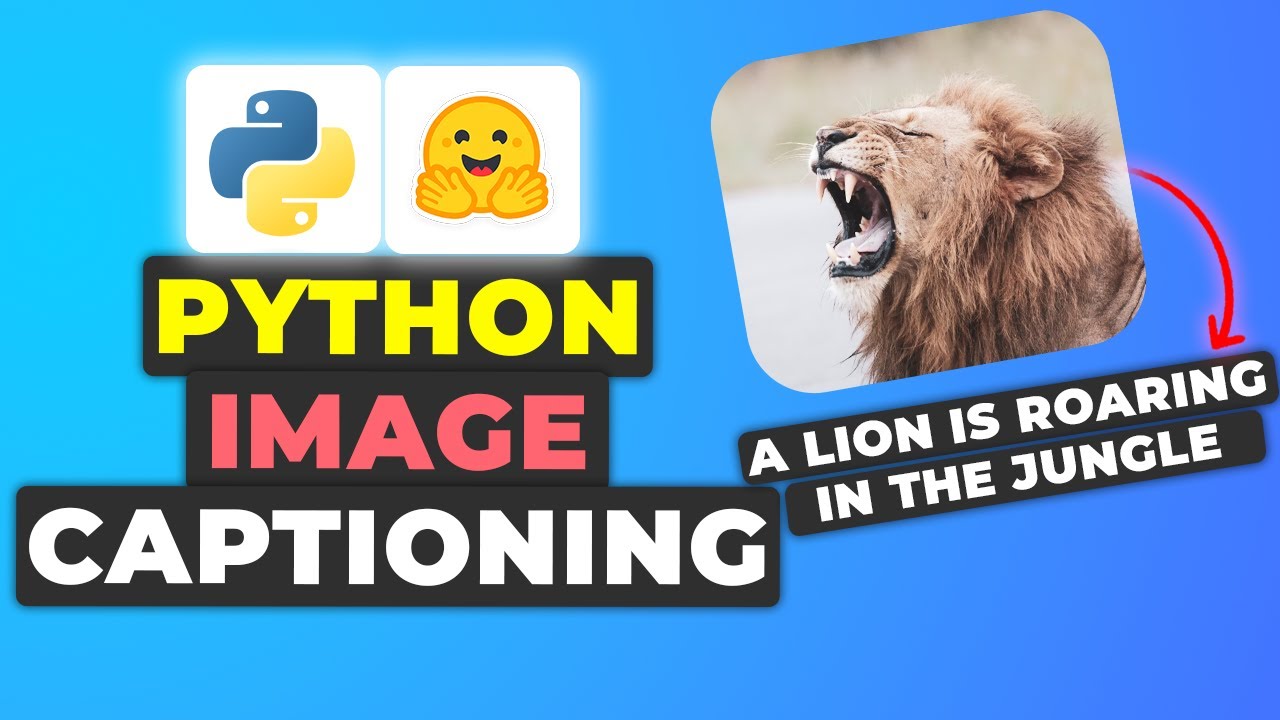
Introduction
In this blog post, we will explore how to caption images using Python by leveraging the BLIP model along with the Hugging Face Transformer library. We’ll also build a simple web application using Gradio to provide a user interface for captioning images. This guide will walk you through the steps to set up the necessary environment, write the captioning code, and create a user-friendly interface to generate image captions.
Installing the Libraries
Before we dive into the code, ensure you have the following libraries installed:
- Pillow: A Python Imaging Library that adds image processing capabilities to your Python interpreter. To get the library click here.
pip install pillow- Transformers: A state-of-the-art library for natural language processing provided by Hugging Face.To get the library click here.
pip install transformers- PyTorch: An open-source machine learning library used for applications such as computer vision and natural language processing.To get the library click here. Select the options that match your environment and install it.
- Gradio: A Python library that allows you to quickly create user interfaces for machine learning models.To get the library click here.
pip install gradioSetting Up the Project
Create a new Python script, main.py, and import the required packages:
from PIL import Image
from transformers import BlipProcessor, BlipForConditionalGeneration
import gradio as gr
We start by importing the necessary libraries. PIL is used for image processing, transformers is used to load the BLIP model, and gradio is used to create the web interface.
Loading the Model and Processor
The first step is to initialize the processor and model from Hugging Face. The BLIP model is pretrained and can be easily loaded using the following code:
processor = BlipProcessor.from_pretrained("Salesforce/blip-image-captioning-base")
model = BlipForConditionalGeneration.from_pretrained("Salesforce/blip-image-captioning-base")
We initialize the processor and model from the Hugging Face library. The processor handles the preprocessing of images, and the model generates captions based on the processed images.
Creating the Captioning Function
Next, we need to define a function that will process the image and generate captions. This function will take an image as input, use the processor to prepare the image for the model, generate the caption, and then decode the output to a human-readable format.
def generate_caption(img):
    img_input = Image.fromarray(img)
    inputs = processor(img_input, return_tensors="pt")
    out = model.generate(**inputs)
    caption = processor.decode(out[0], skip_special_tokens=True)
    return caption
Building the Gradio Interface
To create a user-friendly interface, we’ll use Gradio. Gradio allows us to build interactive web applications easily. Here’s how to set up the interface to upload images and display captions:
demo = gr.Interface(
    fn=generate_caption,
    inputs=[gr.Image(label="Image")],
    outputs=[gr.Text(label="Caption")]
)
Running the Application
To run the application, save the script and execute it using the following command:
shCopy codepython main.py
Once the script is running, it will provide a local URL that you can open in your web browser. This URL will take you to the Gradio interface where you can upload an image and receive a caption.
Running the Application
After setting up the project and adding the necessary code, running the application is straightforward. Open your terminal, navigate to the project directory, and run the script. Gradio will launch a local web server, and you can interact with the application through your web browser.
Get Source Code for free:
Conclusion
In this tutorial, we covered how to caption images using Python with the BLIP model and Gradio. We walked through setting up the project, writing the captioning function, and creating a web interface for user interaction. This guide provides a comprehensive overview for anyone looking to implement image captioning in their projects. For further details and customization, refer to the official documentation of Hugging Face and Gradio.
Happy Coding…!


Leave a Reply