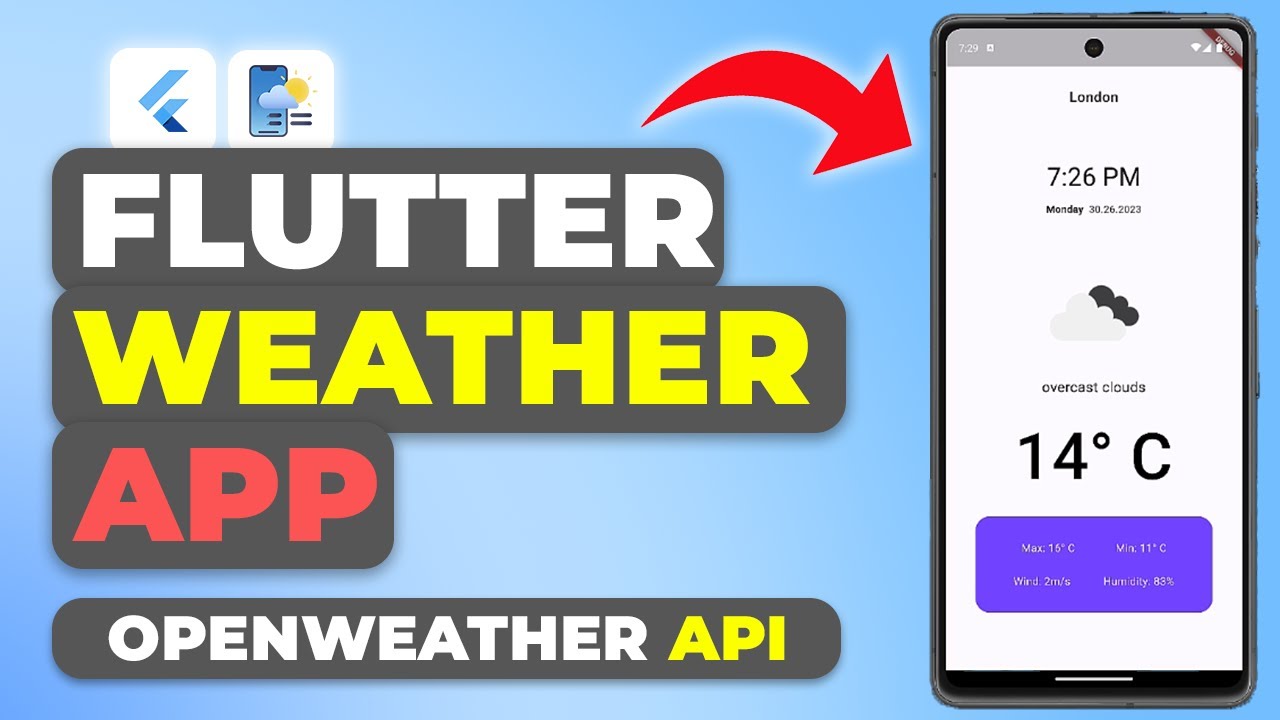
In-app subscriptions are a fantastic way to monetize your Flutter apps. In this guide, we’ll walk through setting up monthly and yearly subscriptions for both iOS and Android using RevenueCat in a Flutter app. We’ll refer to a simple weather app project that allows users to view weather data for specific locations.
If you’re more interested in building a full weather app from scratch using Flutter and then monetizing it with RevenueCat, you can follow this detailed guide on how to build a weather app that fetches data from the OpenWeather API. The guide provides all necessary details, code snippets, and resources to help you create a weather app.
Step 1: Download the Weather App Project
To get started, download the ZIP file of the weather app project from this link. Extract the files and open the project in Android Studio or VS Code.
Once the project is open, make sure to fetch the required dependencies by running:
flutter pub getThis ensures that all necessary packages for the weather app are installed.
Step 2: Set Up Your RevenueCat Account
Go to RevenueCat, sign up for an account, and create a new project. Here’s what you need to do:
- Create a New Project (you can name it “Weather App”).
- Go to the Entitlements tab and create an entitlement called Premium. This will grant premium access to certain features in the app.
Step 3: Update Your Flutter App
In the downloaded weather app project, you will need to make some adjustments to integrate RevenueCat for handling subscriptions. Start by updating the constants.dart file to include the entitlement ID from your RevenueCat project:
const String entitlementID = "premium";Ensure the entitlement ID in your code matches the one created in RevenueCat.
Step 4: Generate API Keys for iOS and Android
To enable in-app purchases for both iOS and Android, you need to generate the respective API keys:
- For iOS, generate an API key from the App Store using your app’s Bundle Identifier.
- For Android, set up your app in the Google Play Console, generate the required API key, and add it to the project.
Step 5: Set Up Subscription Products in RevenueCat
Within RevenueCat, navigate to the Products tab and add your subscription options (e.g., Premium Month and Premium Year). Make sure to add the products for both App Store and Google Play.
Once the products are added, link them to your entitlement so users can subscribe to these premium features.
Step 6: Create Offerings in RevenueCat
Next, you’ll create an offering in RevenueCat, which will be displayed to users when they encounter the paywall. Offerings can include both monthly and yearly subscription options.
- Go to the Offerings tab.
- Create a new offering with both monthly and yearly subscription options.
- Add the appropriate product IDs (e.g., Premium Month, Premium Year) to the offering.
Step 7: Testing the Subscriptions
To test the in-app subscriptions, you’ll need to create Sandbox User Accounts for iOS, and set up a Test Track in the Google Play Console for Android. This allows you to test the purchase flow and ensure everything works as expected.
Conclusion
You’ve successfully set up in-app subscriptions using RevenueCat for your weather app in Flutter. Now, when users try to access premium features, they’ll be presented with a paywall offering monthly or yearly subscriptions.
If you want to learn more about how to build and customize your weather app further, check out this step-by-step guide on building a weather app with Flutter.
Feel free to leave any questions or comments below.
Happy Coding & Earning…!!!


Leave a Reply