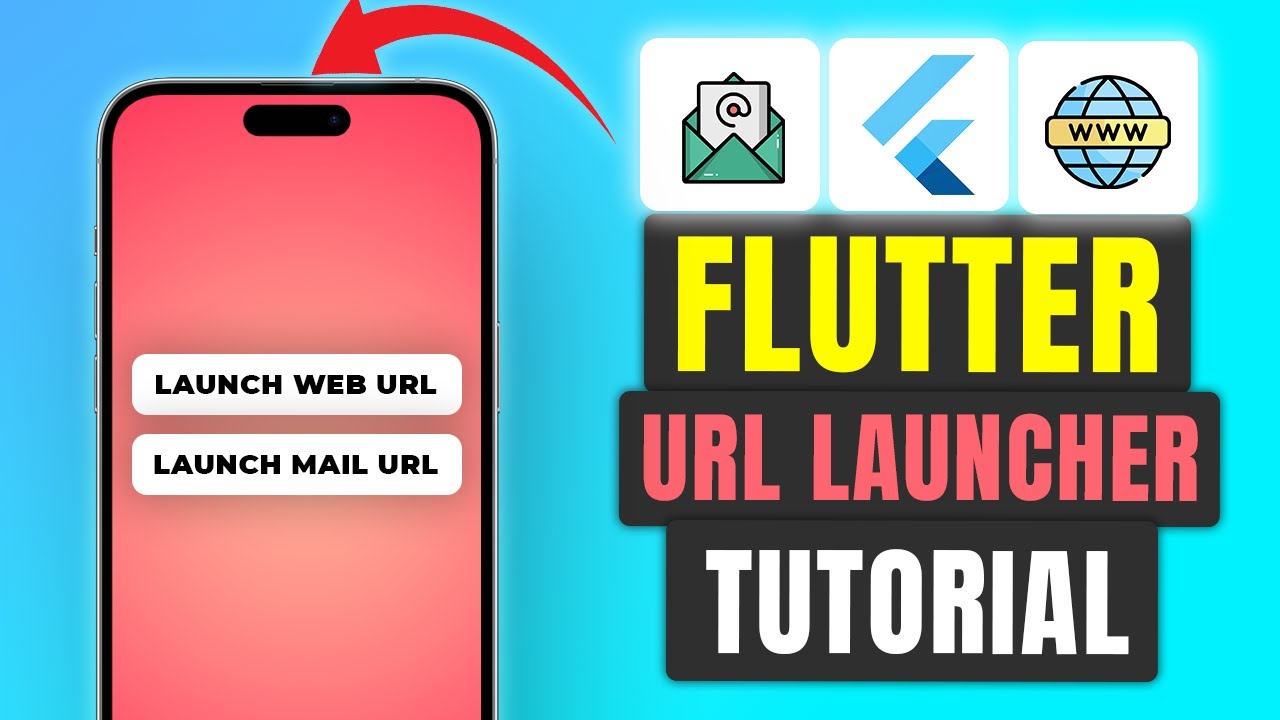
In this blog post, we will explore how to use the url_launcher package to launch various types of URLs from within a Flutter application. We will cover launching web URLs, mail URLs, and more. Let’s get started!
If you prefer watching a video tutorial on how to launch URLs in flutter, here is a link to that.
Introduction
The url_launcher package allows Flutter applications to interact with external applications to launch URLs. This includes opening web pages, composing emails, and more. By the end of this tutorial, you’ll be able to integrate these functionalities into your Flutter app.
Setting Up the Project
To start, create a new Flutter project. Open your terminal and run:
flutter create url_launcherRun the following command to change to the project directory:
cd url_launcherAdding Dependencies
Open your pubspec.yaml file and add the url_launcher dependency:
dependencies:
  flutter:
    sdk: flutter
  url_launcher: ^6.0.20
To get the dependency click here.
Run flutter pub get to fetch the package.
flutter pub getMain Application Code
First, we’ll set up the main.dart file, which contains the main entry point of our application.
import 'package:flutter/material.dart';
import 'pages/home_page.dart';

void main() {
  runApp(const MyApp());
}

class MyApp extends StatelessWidget {
  const MyApp({super.key});

  @override
  Widget build(BuildContext context) {
    return MaterialApp(
      title: 'URL Launcher Demo',
      theme: ThemeData(
        colorScheme: ColorScheme.fromSeed(seedColor: Colors.deepPurple),
        useMaterial3: true,
      ),
      home: const HomePage(),
    );
  }
}
Building the Home Page
Next, create a home_page.dart file and set up the structure for our Home Page:
import 'package:flutter/material.dart';
import 'package:url_launcher/url_launcher.dart';

class HomePage extends StatelessWidget {
  const HomePage({super.key});

  @override
  Widget build(BuildContext context) {
    return Scaffold(
      appBar: AppBar(
        title: const Text("URL Launcher"),
        centerTitle: true,
      ),
      body: const URLButtons(),
    );
  }
}
Launching Web URLs
Now, let’s add functionality to launch web URLs. We’ll define a method and use a MaterialButton to trigger it:
class URLButtons extends StatelessWidget {
  const URLButtons({super.key});

  void _launchWebURL() async {
    final Uri url = Uri.https("hussainmustafa.com");
    if (!await launchUrl(url)) {
      throw 'Could not launch $url';
    }
  }

  @override
  Widget build(BuildContext context) {
    return Center(
      child: MaterialButton(
        onPressed: _launchWebURL,
        color: Colors.red,
        child: const Text("Launch Web URL"),
      ),
    );
  }
}
Launching Mail URLs
Similarly, we can add a button to launch a mail URL:
void _launchMailURL() async {
  final Uri emailUri = Uri(
    scheme: 'mailto',
    path: 'hussain@hussainmustafa.com',
    query: 'subject=Hi&body=Hello',
  );
  if (!await launchUrl(emailUri)) {
    throw 'Could not launch $emailUri';
  }
}

@override
Widget build(BuildContext context) {
  return Column(
    mainAxisAlignment: MainAxisAlignment.center,
    crossAxisAlignment: CrossAxisAlignment.center,
    children: [
      MaterialButton(
        onPressed: _launchWebURL,
        color: Colors.red,
        child: const Text("Launch Web URL"),
      ),
      MaterialButton(
        onPressed: _launchMailURL,
        color: Colors.green,
        child: const Text("Launch Mail URL"),
      ),
    ],
  );
}
This method will attempt to open the default mail client with the specified recipient, subject, and body.
Running the Application
After setting up the project and adding the necessary code to launch URLs in Flutter, it’s time to run the application. Follow these steps to see your URL launcher in action:
- Open your terminal: Navigate to your project directory if you’re not already there.
- Run the application: Use the following command to start your Flutter app:
flutter run- Choose a device: If you have multiple devices connected, select the device you want to run the app on. You can run the app on an Android emulator, iOS simulator, or a physical device.
- Interact with the app: Once the application is running, you’ll see the home page with buttons to launch web and mail URLs. Tap on these buttons to test the functionality:
- Launch Web URL: This button should open the specified web page in your default browser.
- Launch Mail URL: This button should open your default mail client with the recipient, subject, and body pre-filled as specified in the code.
- Debugging: If the URLs do not open as expected, check your console for any error messages. Ensure that your device has internet access and that the
url_launcherpackage is correctly installed and configured.
By following these steps, you can verify that the URL launching functionality works correctly in your Flutter application. This feature can significantly enhance the user experience by providing seamless interactions with web content and email directly from your app.
Get Source Code for free:
Conclusion
In this tutorial, we covered how to launch URLs in Flutter using the url_launcher package. We demonstrated how to open web URLs and mail URLs. This package is versatile and can be used for various URL types such as phone numbers, SMS, and more. For further details, refer to the official documentation .As always, If you have found this article useful do not forget to share it and leave a comment if you have any questions.
Happy Coding. 🙂


Leave a Reply