
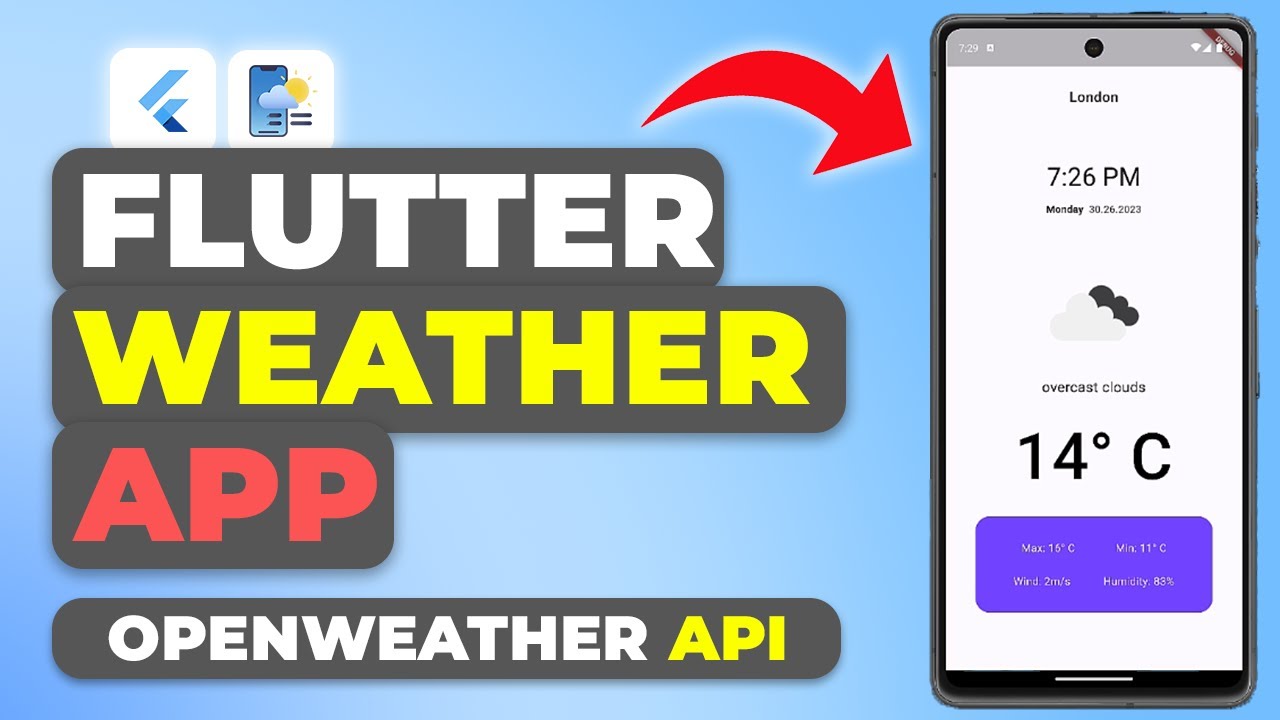
In today’s blog, we’ll be creating a stunning weather app using Flutter. Our app will allow us to enter a location and display a wealth of information about the weather at that location. This includes the time when the weather data was collected, the temperature, a description of the weather conditions, an image representing the weather, and additional metadata such as maximum and minimum temperatures, relative humidity, and wind speed.
So, let’s dive right in! As a side note, links to all the resources and the source code will be available in this blog if you’re interested in checking them out.
Getting Started
To begin, create an empty Flutter project and then create a stateful widget class responsible for managing all the UI elements and logic for our weather app screen. Once you’ve done that, we’ll be at the same starting point.
class WeatherAppScreen extends StatefulWidget {
  @override
  _WeatherAppScreenState createState() => _WeatherAppScreenState();
}
Installing Dependencies
The first step is to head over to pub.dev and install the required dependencies. We’ll be using the weather package, which utilizes the OpenWeather API to retrieve current weather status and forecasts for the specified location. In your pubspec.yaml file, add the following line under dependencies:
dependencies:
  flutter:
    sdk: flutter
  weather: ^3.1.1
Next, for formatting DateTime objects into appropriate strings, we’ll use the intl package. Add this line as well:
intl: ^0.18.1To download dependies click on weather and intl.
Save the changes, and let Flutter fetch the dependencies by running flutter pub get.
flutter pub getAcquiring an API Key from OpenWeatherMap
To use the OpenWeatherMap API, you need to register for an API key:
- Visit OpenWeatherMap.org and create an account or log in.
- Navigate to the API section and generate a new API key.
- Note that it might take between 1-2 hours for the API key to become active.
Once the API key is ready, create a new file in your project’s lib folder called cons.dart, and define your OpenWeather API key as a constant:
const OPENWEATHER_API_KEY = "your_api_key_here";Setting Up the UI Structure
With the dependencies installed and the API key set up, let’s focus on the build function in our homepage. For now, it’s returning a Scaffold. After a quick test run to ensure the app is working, we’ll proceed with the actual implementation.
First, we’ll create a variable final weatherFactory and import it from the weather package. We’ll instantiate it with our OpenWeather API key:
final WeatherFactory _wf = WeatherFactory(OPENWEATHER_API_KEY);Next, we’ll create an optional Weather variable called _weather to store the weather information fetched from the API for a specific location.
In the initState function, we’ll send a request to the OpenWeather API using _wf.currentWeatherByCity() to fetch the weather data for a specified city (in this case, Philadelphia). Once the data is retrieved, we’ll update our _weather variable using setState.
@override
  void initState() {
    super.initState();
    _wf.currentWeatherByCityName("Philadelphia").then((w) {
      setState(() {
        _weather = w;
      });
    });
  }
In the build function, we’ll define the body attribute of the Scaffold as a call to a buildUI function, where we’ll determine the UI based on whether _weather is null or not. If _weather is null, we’ll show a CircularProgressIndicator. Otherwise, we’ll render a Column containing various widgets to display the weather information.
Widget _buildUI() {
    if (_weather == null) {
      return const Center(
        child: CircularProgressIndicator(),
      );
    }
    return SizedBox(
      width: MediaQuery.sizeOf(context).width,
      height: MediaQuery.sizeOf(context).height,
      child: Column(
        mainAxisSize: MainAxisSize.max,
        mainAxisAlignment: MainAxisAlignment.center,
        crossAxisAlignment: CrossAxisAlignment.center,
        children: [
          _locationHeader(),
          SizedBox(
            height: MediaQuery.sizeOf(context).height * 0.08,
          ),
          _dateTimeInfo(),
          SizedBox(
            height: MediaQuery.sizeOf(context).height * 0.05,
          ),
          _weatherIcon(),
          SizedBox(
            height: MediaQuery.sizeOf(context).height * 0.02,
          ),
          _currentTemp(),
          SizedBox(
            height: MediaQuery.sizeOf(context).height * 0.02,
          ),
          _extraInfo(),
        ],
      ),
    );
  }
Displaying the Location Header
Inside the Column, we’ll start by adding a location header that displays the city for which we’re showing the weather information. We’ll create a separate function locationHeader() that returns a Text widget with the city name from the _weather object:
Widget _locationHeader() {
  return Text(
    _weather?.areaName ?? "",
    style: const TextStyle(
      fontSize: 20,
      fontWeight: FontWeight.w500,
    ),
  );
}
We’ll then add this locationHeader() widget as a child of the Column.
Displaying the Date and Time
Next, we’ll create a datetimeInfo() function that returns a Column containing the time and date when the weather data was collected. We’ll use the intl package to format the DateTime object from the _weather data:
Widget _dateTimeInfo() {
  DateTime now = _weather!.date!;
  return Column(
    children: [
      Text(
        DateFormat("h:mm a").format(now),
        style: const TextStyle(
          fontSize: 35,
        ),
      ),
      const SizedBox(
        height: 10,
      ),
      Row(
        mainAxisSize: MainAxisSize.max,
        mainAxisAlignment: MainAxisAlignment.center,
        crossAxisAlignment: CrossAxisAlignment.center,
        children: [
          Text(
            DateFormat("EEEE").format(now),
            style: const TextStyle(
              fontWeight: FontWeight.w700,
            ),
          ),
          Text(
            "  ${DateFormat("d.m.y").format(now)}",
            style: const TextStyle(
              fontWeight: FontWeight.w400,
            ),
          ),
        ],
      ),
    ],
  );
}
We’ll add this datetimeInfo() widget as a child of the Column after the locationHeader().
Displaying the Weather Icon and Description
To display the weather icon and description, we’ll create a weatherIcon() function that returns a Column with a Container containing the icon image and a Text widget with the weather description:
Widget _weatherIcon() {
  return Column(
    mainAxisSize: MainAxisSize.min,
    mainAxisAlignment: MainAxisAlignment.center,
    crossAxisAlignment: CrossAxisAlignment.center,
    children: [
      Container(
        height: MediaQuery.sizeOf(context).height * 0.20,
        decoration: BoxDecoration(
          image: DecorationImage(
            image: NetworkImage(
            "http://openweathermap.org/img/wn/${_weather?.weatherIcon}@4x.png"),
          ),
        ),
      ),
      Text(
        _weather?.weatherDescription ?? "",
        style: const TextStyle(
          color: Colors.black,
          fontSize: 20,
        ),
      ),
    ],
  );
}
We’ll add this weatherIcon() widget as a child of the Column after the datetimeInfo() widget.
Displaying the Current Temperature
To display the current temperature, we’ll create a currentTemp() function that returns a Text widget with the temperature value from the _weather object:
Widget _currentTemp() {
  return Text(
    "${_weather?.temperature?.celsius?.toStringAsFixed(0)}° C",
    style: const TextStyle(
      color: Colors.black,
      fontSize: 90,
      fontWeight: FontWeight.w500,
    ),
  );
}
We’ll add this currentTemp() widget as a child of the Column after the weatherIcon() widget.
Displaying Additional Weather Information
Finally, we’ll create an extraInfo() function that displays additional weather information such as maximum and minimum temperatures, humidity, and wind speed. This function will return a Container with a Column containing several Row widgets:
Widget _extraInfo() {
  return Container(
    height: MediaQuery.sizeOf(context).height * 0.15,
    width: MediaQuery.sizeOf(context).width * 0.80,
    decoration: BoxDecoration(
      color: Colors.deepPurpleAccent,
      borderRadius: BorderRadius.circular(
        20,
      ),
    ),
    padding: const EdgeInsets.all(
      8.0,
    ),
    child: Column(
      mainAxisAlignment: MainAxisAlignment.spaceEvenly,
      crossAxisAlignment: CrossAxisAlignment.center,
      children: [
        Row(
          mainAxisSize: MainAxisSize.max,
          mainAxisAlignment: MainAxisAlignment.spaceEvenly,
          crossAxisAlignment: CrossAxisAlignment.center,
          children: [
            Text(
              "Max: ${_weather?.tempMax?.celsius?.toStringAsFixed(0)}° C",
              style: const TextStyle(
                color: Colors.white,
                fontSize: 15,
              ),
            ),
            Text(
              "Min: ${_weather?.tempMin?.celsius?.toStringAsFixed(0)}° C",
              style: const TextStyle(
                color: Colors.white,
                fontSize: 15,
              ),
            )
          ],
        ),
        Row(
          mainAxisSize: MainAxisSize.max,
          mainAxisAlignment: MainAxisAlignment.spaceEvenly,
          crossAxisAlignment: CrossAxisAlignment.center,
          children: [
            Text(
              "Wind: ${_weather?.windSpeed?.toStringAsFixed(0)}m/s",
              style: const TextStyle(
                color: Colors.white,
                fontSize: 15,
              ),
            ),
            Text(
              "Humidity: ${_weather?.humidity?.toStringAsFixed(0)}%",
              style: const TextStyle(
                color: Colors.white,
                fontSize: 15,
              ),
            )
          ],
        )
      ],
    ),
  );
}
We’ll add this extraInfo() widget as a child of the Column after the currentTemp() widget.
And that’s it! Our weather app is now complete. As a final touch, we can easily change the city for which we’re pulling the weather information by modifying the city parameter in the initState function:
@override
  void initState() {
    super.initState();
    _wf.currentWeatherByCityName("Madrid").then((w) {
      setState(() {
        _weather = w;
      });
    });
  }
Get Source Code for free:
Conclusion
With this Flutter weather app, you can easily stay updated on the current weather conditions for any city around the world. The app provides a visually appealing and informative interface, displaying the temperature, weather description, and additional metadata such as maximum and minimum temperatures, humidity, and wind speed. By leveraging the power of the OpenWeather API and Flutter’s cross-platform capabilities, this app offers a seamless experience for users on both mobile and web platforms.
If you have any questions, comments, or concerns, feel free to leave them in the comments section below, and I’ll do my best to address them. Stay happy, stay healthy, keep learning, and keep growing. See you in the next blog!


Leave a Reply