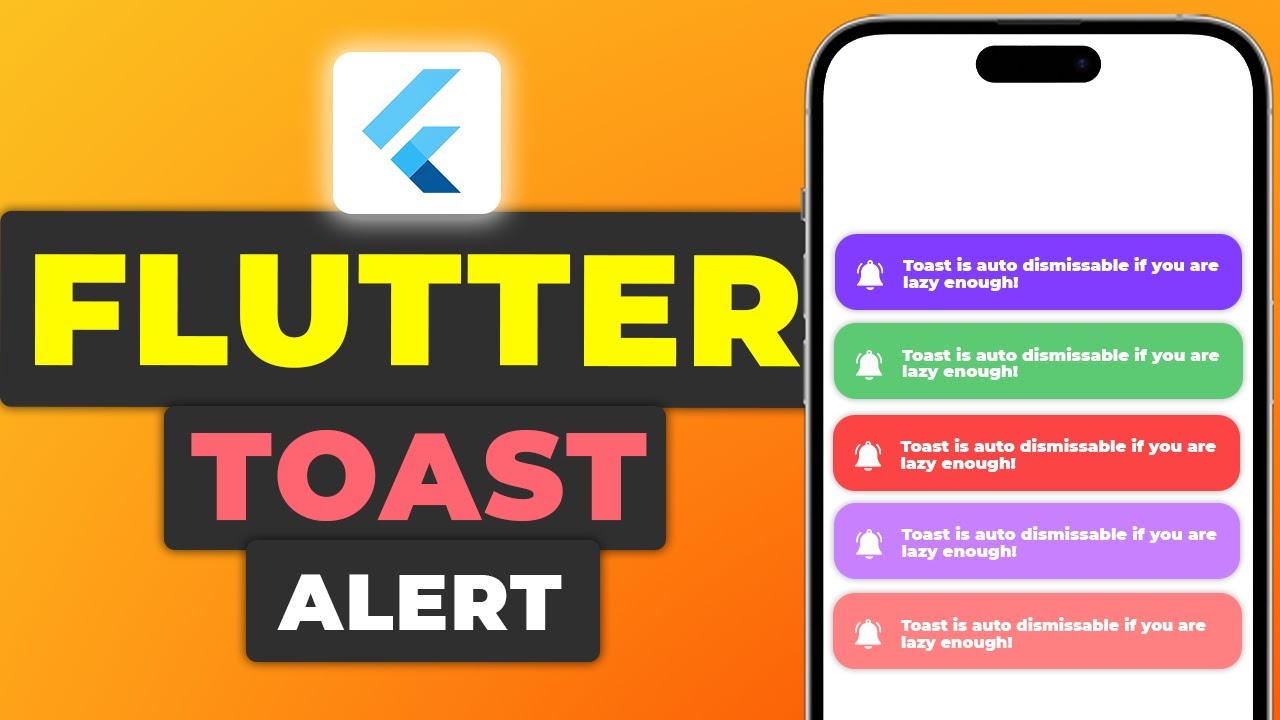
In this blog post, we will walk through how to create both simple and stylized toast notifications in a Flutter application. We’ll cover how to use the default SnackBar widget for basic toasts and introduce the delightful_toast package for more advanced, animated toasts.
If you prefer watching a video tutorial on flutter toast notifications, here is a link to that.
Prerequisites
Before we dive into the code, make sure you have Flutter installed on your machine. If not, you can follow the official Flutter installation guide here.
Getting Started
Creating a New Flutter Project
First, let’s create a new Flutter project. Open your terminal and run the following command:
flutter create toast_exampleThis command creates a new Flutter project named toast_example
To navigate into the project directory run the following command.
cd toast_exampleAdding Dependencies
Modifying pubspec.yaml
To use the delightful_toast package, add it to your pubspec.yaml file. This file manages the dependencies for your Flutter project:
dependencies:
  flutter:
    sdk: flutter
  delightful_toast: ^1.0.0
To install the dependency click here.
Run flutter pub get to install the package. This command downloads the specified package and its dependencies.
flutter pub getSetting Up the Project
We’ll start by creating a basic Flutter application structure with a main.dart file and a home_page.dart file. These files will contain the main logic and UI for our application.
main.dart
This is the entry point of our application. It sets up the main widget and applies a theme. Here’s the code for main.dart:
import 'package:flutter/material.dart';
import '../pages/home_page.dart';

void main() {
  runApp(const MyApp());
}

class MyApp extends StatelessWidget {
  const MyApp({super.key});

  @override
  Widget build(BuildContext context) {
    return MaterialApp(
      title: 'Flutter Demo',
      theme: ThemeData(
        colorScheme: ColorScheme.fromSeed(seedColor: Colors.deepPurple),
        useMaterial3: true,
      ),
      home: const HomePage(),
    );
  }
}
Building the Home Page
home_page.dart
This file contains the main UI and logic for our home page, where we’ll add buttons to trigger different types of toast notifications.
First, add the necessary imports. The delightful_toast package is used for advanced toast notifications, while flutter/material.dart provides the core Flutter widgets:
import 'package:delightful_toast/delight_toast.dart';
import 'package:delightful_toast/toast/components/toast_card.dart';
import 'package:delightful_toast/toast/utils/enums.dart';
import 'package:flutter/material.dart';
Next, create the HomePage widget, which will serve as the main screen of our application:
class HomePage extends StatefulWidget {
  const HomePage({super.key});

  @override
  State<HomePage> createState() => _HomePageState();
}

class _HomePageState extends State<HomePage> {
  @override
  Widget build(BuildContext context) {
    return Scaffold(
      body: _buildUI(),
    );
  }
Building the UI
_buildUI Method
The _buildUI method is responsible for constructing the user interface. It returns a SizedBox widget that contains a Column with two buttons. These buttons will trigger different types of toast notifications.
Widget _buildUI() {
  return SizedBox(
    width: MediaQuery.sizeOf(context).width,
    child: Column(
      mainAxisAlignment: MainAxisAlignment.spaceEvenly,
      crossAxisAlignment: CrossAxisAlignment.center,
      children: [
        ElevatedButton(
          onPressed: () {
            ScaffoldMessenger.of(context).showSnackBar(
              const SnackBar(
                duration: Duration(seconds: 3),
                content: Text("This is a normal toast."),
              ),
            );
          },
          style: ElevatedButton.styleFrom(
            shape: const StadiumBorder(),
          ),
          child: const Text('Normal Toast'),
        ),
        ElevatedButton(
          onPressed: () {
            DelightToastBar(
              builder: (context) {
                return const ToastCard(
                  leading: Icon(
                    Icons.notifications,
                    size: 32,
                  ),
                  title: Text(
                    "This is a delightful toast.",
                    style: TextStyle(
                      fontWeight: FontWeight.w700,
                      fontSize: 14,
                    ),
                  ),
                );
              },
              position: DelightSnackbarPosition.top,
              autoDismiss: true,
              snackbarDuration: Duration(seconds: 4),
            ).show(
              context,
            );
          },
          style: ElevatedButton.styleFrom(
            shape: const StadiumBorder(),
          ),
          child: const Text('Stylized Toast'),
        ),
      ],
    ),
  );
}
Running the Application
To run the application, use the following command in your terminal:
flutter runThis will start the application on your connected device or emulator. Ensure that your device is set up correctly, and you have a working Android or iOS emulator.
Explanation
Normal Toast
In the HomePage widget, we have two buttons. The first button triggers a simple toast using the ScaffoldMessenger. This is a basic toast notification that appears at the bottom of the screen and disappears after a few seconds.
ElevatedButton(
  onPressed: () {
    ScaffoldMessenger.of(context).showSnackBar(
      const SnackBar(
        duration: Duration(seconds: 3),
        content: Text("This is a normal toast."),
      ),
    );
  },
  style: ElevatedButton.styleFrom(
    shape: const StadiumBorder(),
  ),
  child: const Text('Normal Toast'),
),
Stylized Toast
The second button uses the delightful_toast package to show a more advanced toast. This package allows for greater customization and the ability to add animations, icons, and more detailed text formatting.
ElevatedButton(
  onPressed: () {
    DelightToastBar(
      builder: (context) {
        return const ToastCard(
          leading: Icon(
            Icons.notifications,
            size: 32,
          ),
          title: Text(
            "This is a delightful toast.",
            style: TextStyle(
              fontWeight: FontWeight.w700,
              fontSize: 14,
            ),
          ),
        );
      },
      position: DelightSnackbarPosition.top,
      autoDismiss: true,
      snackbarDuration: Duration(seconds: 4),
    ).show(
      context,
    );
  },
  style: ElevatedButton.styleFrom(
    shape: const StadiumBorder(),
  ),
  child: const Text('Stylized Toast'),
),
This button displays a toast with a custom icon and text, positioned at the top of the screen with an auto-dismiss feature.
Get Source Code for free:
Conclusion
In this tutorial, we learned how to create both simple and stylized toast notifications in Flutter. The SnackBar widget provides an easy way to show basic toasts, while the delightful_toast package allows for more customization and animation.
Feel free to explore and modify the code to suit your needs. If you have any questions or run into any issues, leave a comment below. Happy coding!


Leave a Reply