
In this tutorial, we’ll guide you through creating a cross-platform PDF viewer using Flutter. The viewer will support features like zooming, scrolling, and navigating through pages, providing a smooth user experience on both mobile and desktop platforms.
If you prefer watching a video tutorial here is a link to that.
Setting Up the Project Structure for PDF Viewer
Before we dive into the implementation details, it’s essential to ensure that your project structure is organized for managing assets like PDF files. In this project, we’ll be working with a sample PDF named example_pdf.pdf, which should be stored under the assets/pdfs/ directory.
To make sure this PDF is accessible within your Flutter app, you’ll need to declare it in your pubspec.yaml file. This step ensures that Flutter bundles the PDF file with your app during the build process.
Here’s how to configure the pubspec.yaml file:
flutter:
  assets:
    - assets/pdfs/example_pdf.pdf
Including this path in the assets section ensures that your application can locate and load the PDF file when needed. This setup is crucial for providing a seamless experience, allowing users to view the PDF directly within your app.
Initial Setup
To begin, set up a new Flutter project. We’ll be using the pdfx package to handle PDF rendering across different platforms, including mobile, web, and desktop. Add the following dependency in your pubspec.yaml file:
dependencies:
  pdfx: ^2.6.0
This package will allow us to load, display, and interact with PDF documents easily.
To get the dependency click here.
Creating the Main Entry Point
Start by creating the main.dart file. This file serves as the entry point of your Flutter application. It initializes the app and directs it to the homepage.
import 'package:flutter/material.dart';
import 'package:flutter_pdf_viewer_tutorial/pages/home_page.dart';

void main() {
  runApp(const MyApp());
}

class MyApp extends StatelessWidget {
  const MyApp({super.key});

  @override
  Widget build(BuildContext context) {
    return MaterialApp(
      title: 'Flutter PDF Viewer',
      theme: ThemeData(
        colorScheme: ColorScheme.fromSeed(seedColor: Colors.deepPurple),
        useMaterial3: true,
      ),
      home: HomePage(),
    );
  }
}
Building the Home Page
The homepage is where our PDF viewer will reside. We’ll create a stateful widget that will manage the PDF document and its controls.
Setting Up the HomePage Widget
In this section, we’ll set up the basic structure of our homepage. The HomePage widget is responsible for displaying the PDF viewer and the controls for navigation.
import 'package:flutter/material.dart';
import 'package:pdfx/pdfx.dart';

class HomePage extends StatefulWidget {
  const HomePage({super.key});

  @override
  State<HomePage> createState() => _HomePageState();
}
Initializing the PDF Controller
Next, we’ll initialize the PdfControllerPinch, which will handle the document loading and page navigation.
class _HomePageState extends State<HomePage> {
  late PdfControllerPinch pdfControllerPinch;

  int totalPageCount = 0, currentPage = 1;

  @override
  void initState() {
    super.initState();
    pdfControllerPinch = PdfControllerPinch(
        document: PdfDocument.openAsset('assets/pdfs/example_pdf.pdf'));
  }
Building the AppBar
Let’s create an app bar with a title. This will give our app a more polished look and make it clear to users that they are viewing a PDF.
@override
Widget build(BuildContext context) {
  return Scaffold(
    appBar: AppBar(
      title: const Text(
        "PDF Viewer",
        style: TextStyle(
          color: Colors.white,
        ),
      ),
      backgroundColor: Colors.red,
    ),
    body: _buildUI(),
  );
}
Creating the PDF Viewer UI
Adding Page Navigation Controls
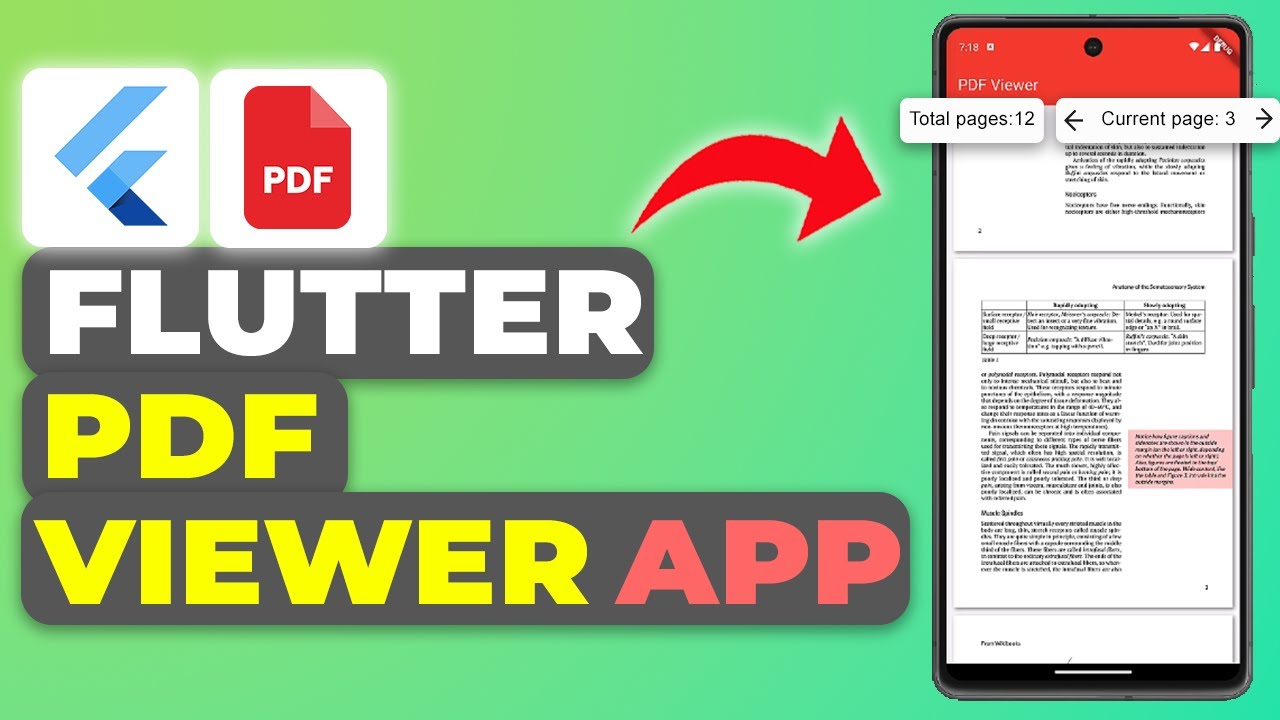
We’ll add controls to navigate between the pages of the PDF. These controls include buttons to move to the previous or next page, as well as text displaying the current page and total pages.
Widget _buildUI() {
  return Column(
    children: [
      Row(
        mainAxisSize: MainAxisSize.max,
        mainAxisAlignment: MainAxisAlignment.spaceEvenly,
        crossAxisAlignment: CrossAxisAlignment.center,
        children: [
          Text("Total Pages: ${totalPageCount}"),
          IconButton(
            onPressed: () {
              pdfControllerPinch.previousPage(
                duration: Duration(
                  milliseconds: 500,
                ),
                curve: Curves.linear,
              );
            },
            icon: Icon(
              Icons.arrow_back,
            ),
          ),
          Text("Current Page: ${currentPage}"),
          IconButton(
            onPressed: () {
              pdfControllerPinch.nextPage(
                duration: Duration(
                  milliseconds: 500,
                ),
                curve: Curves.linear,
              );
            },
            icon: Icon(
              Icons.arrow_forward,
            ),
          ),
        ],
      ),
      _pdfView(),
    ],
  );
}
Displaying the PDF Document
Finally, let’s create the PDF viewer itself. This widget will render the PDF document and handle user interactions like scrolling and zooming.
Widget _pdfView() {
  return Expanded(
    child: PdfViewPinch(
      scrollDirection: Axis.vertical,
      controller: pdfControllerPinch,
      onDocumentLoaded: (doc) {
        setState(() {
          totalPageCount = doc.pagesCount;
        });
      },
      onPageChanged: (page) {
        setState(() {
          currentPage = page;
        });
      },
    ),
  );
}
Get Source Code for free:
Conclusion
By following this guide, you’ve successfully created a PDF viewer in Flutter that can be used across multiple platforms. This application allows users to view, navigate, and interact with PDF documents easily. With the pdfx package, you’ve leveraged powerful PDF rendering capabilities, making your app versatile and user-friendly.
Happy Coding…!!!


Leave a Reply