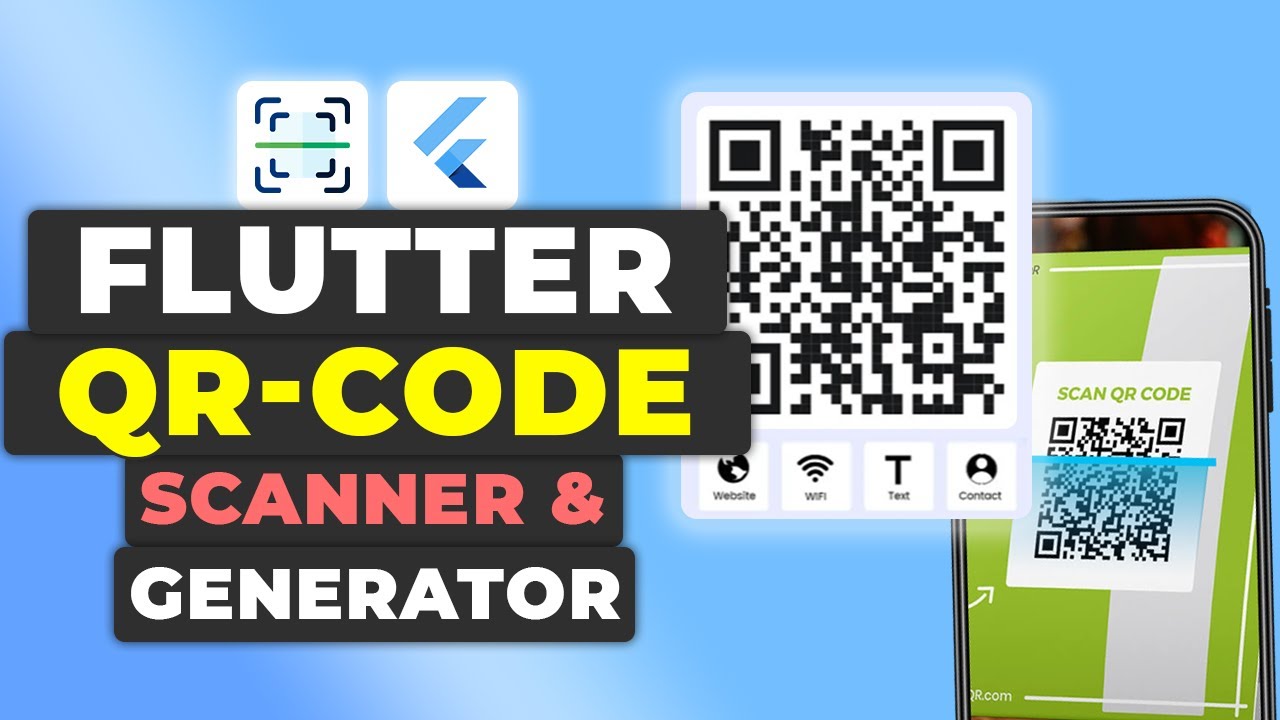
In this tutorial, we’ll explore how to scan and generate QR code within your Flutter application. We’ll cover the essential functionalities: using the device’s camera to scan QR codes, displaying the scanned QR code, and generating new QR codes based on user input.
If you prefer watching a video tutorial here is a link to that.
Prerequisites
Before we start, ensure you have the following:
- Flutter installed on your machine
- Basic understanding of Dart and Flutter
Setting Up the Project
Step 1: Create a New Flutter Project
To get started with our form handling app, initialize a new Flutter project. If you’ve already got Flutter installed, you can set up a new project using the command:
flutter create qr_code_appNavigate into your project directory:
cd qr_code_appStep 2: Add Dependencies
In the pubspec.yaml file, add the following dependencies for QR code functionalities:
mobile_scanner:
The mobile_scanner package provides a powerful and flexible QR code scanning functionality for Flutter apps. It supports real-time detection and scanning using the device’s camera, making it easy to integrate QR code scanning into your application. To get the dependency, click here.
pretty_qr_code:
The pretty_qr_code package allows you to generate aesthetically pleasing QR codes with various customization options. This package makes it simple to create QR codes with custom colors, shapes, and sizes, enhancing the visual appeal of your app. To get the dependency, click here.
dependencies:
  flutter:
    sdk: flutter
  mobile_scanner: ^5.1.1
  pretty_qr_code: ^3.3.0
Run flutter pub get to install the dependencies.
flutter pub getMain Application File
In main.dart, set up the basic structure of the Flutter app:
import 'package:flutter/material.dart';
import 'pages/generate_code_page.dart';
import 'pages/scan_code_page.dart';

void main() {
  runApp(const MyApp());
}

class MyApp extends StatelessWidget {
  const MyApp({super.key});

  @override
  Widget build(BuildContext context) {
    return MaterialApp(
      title: 'Flutter Demo',
      theme: ThemeData(
        colorScheme: ColorScheme.fromSeed(seedColor: Colors.deepPurple),
        useMaterial3: true,
      ),
      routes: {
        "/generate": (context) => const GenerateCodePage(),
        "/scan": (context) => const ScanCodePage(),
      },
      initialRoute: "/scan",
    );
  }
}
Generating QR Codes
Next, create a generate_code_page.dart file in the pages folder. This file will contain the logic for generating QR codes.
Importing Dependencies
At the top of the generate_code_page.dart file, import the necessary packages:
import 'package:flutter/material.dart';
import 'package:pretty_qr_code/pretty_qr_code.dart';
Creating the GenerateCodePage Widget
Define the GenerateCodePage stateful widget:
class GenerateCodePage extends StatefulWidget {
  const GenerateCodePage({super.key});

  @override
  State<GenerateCodePage> createState() => _GenerateCodePageState();
}
Defining the State
Create the state for GenerateCodePage:
class _GenerateCodePageState extends State<GenerateCodePage> {
  String? qrData;

  @override
  Widget build(BuildContext context) {
    return Scaffold(
      appBar: AppBar(
        title: const Text('Generate QR Code'),
        actions: [
          IconButton(
            onPressed: () {
              Navigator.popAndPushNamed(context, "/scan");
            },
            icon: const Icon(
              Icons.qr_code_scanner,
            ),
          ),
        ],
      ),
      body: _buildUI(),
    );
  }

  Widget _buildUI() {
    return Padding(
      padding: const EdgeInsets.all(10.0),
      child: Column(
        mainAxisSize: MainAxisSize.max,
        mainAxisAlignment: MainAxisAlignment.spaceEvenly,
        crossAxisAlignment: CrossAxisAlignment.center,
        children: [
          _buildTextField(),
          if (qrData != null) PrettyQrView.data(data: qrData!),
        ],
      ),
    );
  }

  Widget _buildTextField() {
    return TextField(
      onSubmitted: (value) {
        setState(() {
          qrData = value;
        });
      },
    );
  }
}
Scanning QR Codes
Next, create a scan_code_page.dart file in the pages folder. This file will contain the logic for scanning QR codes.
Importing Dependencies
At the top of the scan_code_page.dart file, import the necessary packages:
import 'dart:typed_data';
import 'package:flutter/material.dart';
import 'package:mobile_scanner/mobile_scanner.dart';
Creating the ScanCodePage Widget
Define the ScanCodePage stateful widget:
class ScanCodePage extends StatefulWidget {
  const ScanCodePage({super.key});

  @override
  State<ScanCodePage> createState() => _ScanCodePageState();
}
Defining the State
Create the state for ScanCodePage:
class _ScanCodePageState extends State<ScanCodePage> {
  @override
  Widget build(BuildContext context) {
    return Scaffold(
      appBar: AppBar(
        title: const Text('Scan QR Code'),
        actions: [
          IconButton(
            onPressed: () {
              Navigator.popAndPushNamed(context, "/generate");
            },
            icon: const Icon(
              Icons.qr_code,
            ),
          ),
        ],
      ),
      body: _buildScanner(),
    );
  }

  Widget _buildScanner() {
    return MobileScanner(
      controller: MobileScannerController(
        detectionSpeed: DetectionSpeed.noDuplicates,
        returnImage: true,
      ),
      onDetect: (capture) {
        final List<Barcode> barcodes = capture.barcodes;
        final Uint8List? image = capture.image;
        _handleDetection(barcodes, image);
      },
    );
  }

  void _handleDetection(List<Barcode> barcodes, Uint8List? image) {
    for (final barcode in barcodes) {
      print('Barcode found! ${barcode.rawValue}');
    }
    if (image != null) {
      _showBarcodeDialog(barcodes.first.rawValue ?? "", image);
    }
  }

  void _showBarcodeDialog(String barcode, Uint8List image) {
    showDialog(
      context: context,
      builder: (context) {
        return AlertDialog(
          title: Text(barcode),
          content: Image(image: MemoryImage(image)),
        );
      },
    );
  }
}
Running the Application
With everything set up, run your application. You should see an app with two main functionalities: scanning and generating QR codes. Users can switch between these functionalities using the app bar icons.
Get Source Code for free:
Conclusion
In this tutorial, we built a Flutter application that can scan and generate QR code. This functionality is essential for many applications that require quick and easy data sharing.
Happy coding!








Leave a Reply