
Introduction
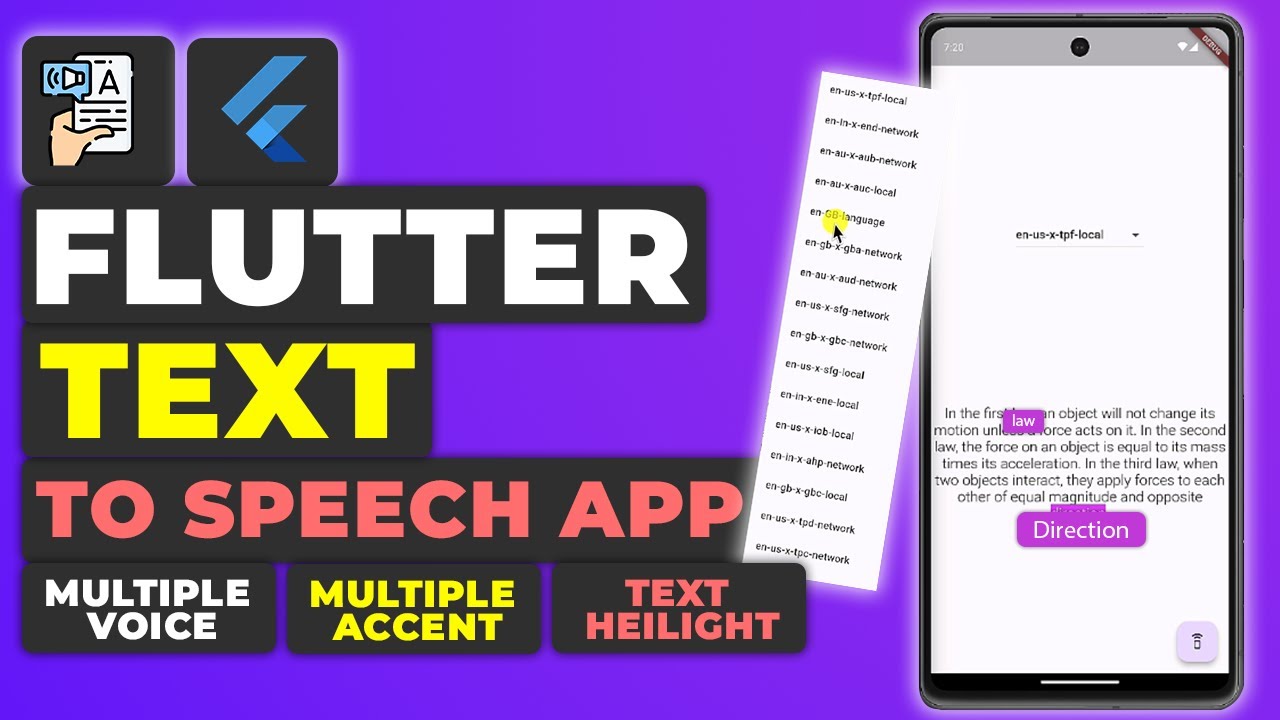
In this tutorial, we will delve into creating a comprehensive text-to-speech (TTS) application using Flutter. This application will be versatile, working seamlessly across desktop, mobile, and web platforms. Users will have the ability to select their preferred voice from a dropdown menu and activate the TTS service by pressing a play button. The app will not only convert text into audible speech but also highlight the currently spoken word on the screen in real-time.
This project leverages the flutter_tts package for implementing TTS capabilities on various platforms, including Android, iOS, macOS, Windows, and the web. Let’s get started.
If you prefer watching a video tutorial on text-to-speech in flutter here is a link to that.
Setting Up the Project
Adding the flutter_tts Dependency
To begin, we need to add the flutter_tts dependency to our project:
- Open your Flutter project.
- Navigate to the
pubspec.yamlfile. - Add the following dependency:
dependencies:
  flutter_tts: latest_version
- Run
flutter pub getin your terminal to install the dependency.
To download the dependency click here.
Configuring Android
To ensure our application runs smoothly on Android, we need to perform a few configuration steps:
Updating Minimum SDK Version
- Open
android/app/build.gradle. - Locate the
defaultConfigblock. - Set the
minSdkVersionto 21:
defaultConfig {
    ...
    minSdkVersion 21
    ...
}
Adding TTS Service Intent Filter
- Open
android/app/src/main/AndroidManifest.xml. - Add the following
queriestag above theapplicationtag:
<manifest ...>
    <queries>
        <intent>
            <action android:name="android.intent.action.TTS_SERVICE" />
        </intent>
    </queries>
    <application ...>
        ...
    </application>
</manifest>
Configuring iOS
For iOS, no additional configurations are required. The flutter_tts package will work out-of-the-box.
Initializing the TTS Service
Creating the initTTS() Function
Now, we will initialize the TTS service within our application:
- Navigate to your
libfolder. - Create a new Dart file named
tts_service.dart. - Inside this file, define a function to initialize the TTS service:
import 'package:flutter_tts/flutter_tts.dart';

class TTSService {
  FlutterTts flutterTts;
  List<dynamic> voices;
  dynamic currentVoice;

  void initTTS() async {
    flutterTts = FlutterTts();
    voices = await flutterTts.getVoices;
    voices = voices.where((voice) => voice['name'].contains('en')).toList();
    currentVoice = voices.first;
    flutterTts.setVoice(currentVoice);
  }
}
Setting the Current Voice
To store and set the current voice, we use the following approach:
- Create a
Mapto hold the current voice. - Define a
setVoice()function to update the TTS service with the selected voice:
void setVoice(Map<String, dynamic> voice) {
  currentVoice = voice;
  flutterTts.setVoice(currentVoice);
}
Creating the UI
Setting Up the Scaffold
We will now proceed to build the user interface for our TTS application:
- Define the structure of the main page with a
Scaffoldwidget. - Add a
FloatingActionButtonto trigger the TTS action.
Scaffold(
  appBar: AppBar(
    title: Text('Text to Speech'),
  ),
  body: buildUI(),
  floatingActionButton: FloatingActionButton(
    onPressed: () => flutterTts.speak(TTS_INPUT),
    child: Icon(Icons.speaker),
  ),
);
Building the UI
- Create the
buildUI()function to structure the page content:
Widget buildUI() {
  return SafeArea(
    child: Column(
      mainAxisSize: MainAxisSize.max,
      mainAxisAlignment: MainAxisAlignment.center,
      crossAxisAlignment: CrossAxisAlignment.center,
      children: <Widget>[
        speakerSelector(),
        // Other UI elements go here
      ],
    ),
  );
}
Creating the Speaker Selector
To allow users to select a voice from a dropdown menu, we will use the DropdownButton widget:
- Create the
speakerSelector()function:
Widget speakerSelector() {
  return DropdownButton(
    value: currentVoice,
    items: voices.map((voice) {
      return DropdownMenuItem(
        value: voice,
        child: Text(voice['name']),
      );
    }).toList(),
    onChanged: (newVoice) {
      setVoice(newVoice);
    },
  );
}
Displaying the Text
Adding a RichText Widget
We will now add a RichText widget to display the text input and highlight the current word being spoken:
- Add the
RichText()widget inside thebuildUI()function:
Widget buildUI() {
  return SafeArea(
    child: Column(
      mainAxisSize: MainAxisSize.max,
      mainAxisAlignment: MainAxisAlignment.center,
      crossAxisAlignment: CrossAxisAlignment.center,
      children: <Widget>[
        speakerSelector(),
        RichText(
          textAlign: TextAlign.center,
          text: TextSpan(
            children: _buildTextSpans(ttsInput),
          ),
        ),
      ],
    ),
  );
}
- Define the
_buildTextSpans()function to handle text segmentation and styling:
List<TextSpan> _buildTextSpans(String text) {
  List<TextSpan> spans = [];
  if (currentWordStart != null && currentWordEnd != null) {
    spans.add(
      TextSpan(
        text: text.substring(0, currentWordStart),
        style: TextStyle(color: Colors.black),
      ),
    );
    spans.add(
      TextSpan(
        text: text.substring(currentWordStart, currentWordEnd),
        style: TextStyle(color: Colors.white, backgroundColor: Colors.purpleAccent),
      ),
    );
    spans.add(
      TextSpan(
        text: text.substring(currentWordEnd),
        style: TextStyle(color: Colors.black),
      ),
    );
  } else {
    spans.add(TextSpan(text: text, style: TextStyle(color: Colors.black)));
  }
  return spans;
}
Playing the Text
Adding the onPressed Handler
To play the text input using TTS, we implement the onPressed handler for the FloatingActionButton:
floatingActionButton: FloatingActionButton(
  onPressed: () => flutterTts.speak(ttsInput),
  child: Icon(Icons.speaker),
)
Highlighting the Current Word
Implementing the setProgressHandler
To track and highlight the current word being spoken, we use the setProgressHandler() method:
- Define the following variables at the top of your class:
int currentWordStart;
int currentWordEnd;
- Implement the
setProgressHandler()in theinitTTS()function:
flutterTts.setProgressHandler((String text, int start, int end, String word) {
  setState(() {
    currentWordStart = start;
    currentWordEnd = end;
  });
});
Splitting the TextSpan
Inside the _buildTextSpans() function, handle the segmentation of the text based on the current word’s position:
- Split the text into three parts: before, during, and after the current word.
- Apply different styles to highlight the current word:
List<TextSpan> _buildTextSpans(String text) {
  List<TextSpan> spans = [];
  if (currentWordStart != null && currentWordEnd != null) {
    spans.add(
      TextSpan(
        text: text.substring(0, currentWordStart),
        style: TextStyle(color: Colors.black),
      ),
    );
    spans.add(
      TextSpan(
        text: text.substring(currentWordStart, currentWordEnd),
        style: TextStyle(color: Colors.white, backgroundColor: Colors.purpleAccent),
      ),
    );
    spans.add(
      TextSpan(
        text: text.substring(currentWordEnd),
        style: TextStyle(color: Colors.black),
      ),
    );
  } else {
    spans.add(TextSpan(text: text, style: TextStyle(color: Colors.black)));
  }
  return spans;
}
Handling Voice Changes
Updating the Current Voice
To allow for voice changes via the DropdownButton, we update the currentVoice when the value changes and call the setVoice() function:
onChanged: (newVoice) {
  setState(() {
    setVoice(newVoice);
  });
},
Additional Features
To make our TTS application even more robust, we can add extra functionalities such as pause/resume, stop, volume control, and speech rate control.
Pause/Resume Functionality
- Define
pauseandresumemethods:
flutterTts.pause();
flutterTts.resume();
- Add buttons to the UI for controlling these actions.
Stop Functionality
- Add a method to stop the TTS:
flutterTts.stop();
- Add a button in the UI to trigger this action.
Volume Control
- Add a slider to control the volume:
Slider(
  value: volume,
  min: 0.0,
  max: 1.0,
  onChanged: (newVolume) {
    setState(() {
      volume = newVolume;
      flutterTts.setVolume(volume);
    });
  },
);
Speech Rate Control
- Similarly, add a slider for adjusting the speech rate:
Slider(
  value: rate,
  min: 0.5,
  max: 2.0,
  onChanged: (newRate) {
    setState(() {
      rate = newRate;
      flutterTts.setSpeechRate(rate);
    });
  },
);
Cleanup and Optimization
Disposing the FlutterTTS Instance
Ensure that you properly dispose of the flutterTts instance to free up resources:
@override
void dispose() {
  flutterTts.stop();
  super.dispose();
}
Handling Edge Cases and Error Handling
Implement error handling to manage cases where the TTS service might fail or encounter exceptions:
try {
  await flutterTts.speak(ttsInput);
} catch (error) {
  print("Error occurred: $error");
}
Code Refactoring and Organization
Refactor and organize the code to maintain readability and manageability. Separate the UI components and business logic into different files if necessary.
Testing
Testing on Different Devices and Platforms
Thoroughly test the application on various devices and platforms to ensure compatibility and identify any platform-specific issues.
Testing with Different Voices and Languages
Experiment with different voices and languages to confirm that the filtering logic and voice selection functionality work as expected.
Testing Edge Cases and Error Scenarios
Identify potential edge cases and test how the application handles them, such as network issues or invalid text inputs.
Get Source Code for free:
Conclusion
Creating a robust text-to-speech application in Flutter is a rewarding endeavor that showcases the framework’s flexibility and power. By following these steps, you can build an application that not only converts text into speech but also provides a rich and interactive user experience. From setting up the project to handling voice changes and adding advanced features, this tutorial covers all essential aspects to equip you with the knowledge needed to create your own TTS application.
If you enjoyed this tutorial, consider subscribing to stay updated with more comprehensive guides. Happy coding!


Leave a Reply