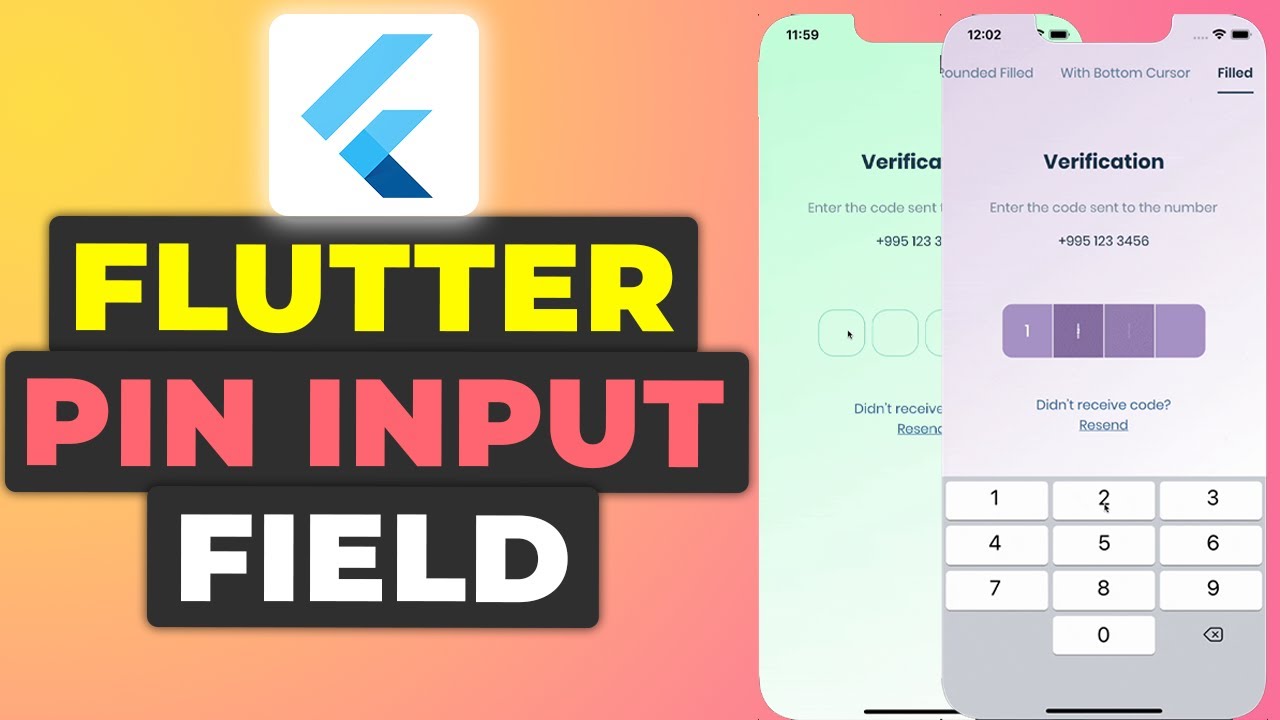
In today’s tutorial, I’m going to show you how to create a PIN input field in your Flutter application using the pinput package. By the end of this tutorial, you’ll have a functional PIN input field with validation and error handling. Let’s get started!
If you prefer watching a video tutorial here is a link to that.
Overview
We’ll build a simple verification screen where users can input a PIN code. The screen will include a heading, subheading, phone number display, and a PIN input field with validation. If the PIN is incorrect, an error message will be displayed.
Prerequisites
Before starting, ensure you have:
- Flutter installed
- Basic knowledge of Flutter and Dart
Setting Up the Project
Adding Dependencies
First, we need to add the pinput dependency to our project. Follow these steps:
- Copying Dependency from pub.dev:
-
Adding Dependency to pubspec.yaml:
- Open the
pubspec.yamlfile in your project. - Under the
dependenciessection, add the copied pin input dependency.
- Open the
-
Running flutter pub get:
- Save the changes and run
flutter pub getin your terminal. This will fetch the package and make it available in your project.
- Save the changes and run
dependencies:
  flutter:
    sdk: flutter
      pinput: ^5.0.0
flutter pub getCreating the Main Application File
Next, set up your main application file main.dart. This file initializes the app and sets up the main structure.
Importing Dependencies
Start by importing the necessary packages:
import 'package:flutter/material.dart';
import 'package:pin_input_tutorial/pages/home_page.dart';
Setting Up the Main Function
The main function initializes the app and sets up the main structure:
void main() {
  runApp(const MyApp());
}
Creating the MyApp Widget
Define the MyApp widget which returns a MaterialApp:
class MyApp extends StatelessWidget {
  const MyApp({super.key});

  @override
  Widget build(BuildContext context) {
    return MaterialApp(
      title: 'Flutter Demo',
      theme: ThemeData(
        colorScheme: ColorScheme.fromSeed(seedColor: Colors.blue),
        useMaterial3: true,
      ),
      home: const HomePage(),
    );
  }
}
Creating the Home Page
Now, create the home page where the PIN input field will be implemented.
Setting Up the Home Page
Create a file home_page.dart for the home page.
Importing Dependencies
Start by importing the necessary packages:
import 'package:flutter/material.dart';
import 'package:pinput/pinput.dart';
Creating the Home Page Stateful Widget
Define the HomePage stateful widget:
class HomePage extends StatefulWidget {
  const HomePage({super.key});

  @override
  State<HomePage> createState() => _HomePageState();
}

class _HomePageState extends State<HomePage> {
  GlobalKey<FormState> formKey = GlobalKey<FormState>();
  String validPin = "1234";

  @override
  Widget build(BuildContext context) {
    return Scaffold(
      body: _buildUI(),
    );
  }
}
Building the UI
In the _HomePageState class, define the UI components.
Building the Main UI
The _buildUI method sets up the main layout of the screen:
Widget _buildUI() {
  return SafeArea(
    child: SizedBox.expand(
      child: Column(
        mainAxisAlignment: MainAxisAlignment.spaceEvenly,
        crossAxisAlignment: CrossAxisAlignment.center,
        children: [
          Column(
            children: [
              _headingText(),
              const SizedBox(height: 20),
              _subHeadingText(),
              const SizedBox(height: 20),
              _numberText(),
            ],
          ),
          _pinInputForm(),
          _resendCodeLink(),
        ],
      ),
    ),
  );
}
Adding the Heading Text
The _headingText method creates the heading text:
Widget _headingText() {
  return const Text(
    "Verification",
    style: TextStyle(
      fontWeight: FontWeight.w600,
      fontSize: 25,
    ),
  );
}
Adding the Subheading Text
The _subHeadingText method creates the subheading text:
Widget _subHeadingText() {
  return const Text(
    "Enter the code sent to the number",
    style: TextStyle(
      fontWeight: FontWeight.w300,
      fontSize: 15,
      color: Colors.black38,
    ),
  );
}
Displaying the Phone Number
The _numberText method displays the phone number:
Widget _numberText() {
  return const Text(
    "+1 723 563 0432",
    style: TextStyle(
      fontWeight: FontWeight.w500,
      fontSize: 15,
    ),
  );
}
Adding the Resend Code Link
The _resendCodeLink method creates the resend code link:
Widget _resendCodeLink() {
  return Text(
    "Didn't get the code.\nResend Code?",
    textAlign: TextAlign.center,
    style: TextStyle(
      fontWeight: FontWeight.w200,
      fontSize: 15,
      color: Theme.of(context).colorScheme.primary,
    ),
  );
}
Creating the PIN Input Form
Finally, create the PIN input form with validation:
Widget _pinInputForm() {
  return Form(
    key: formKey,
    child: Column(
      children: [
        Pinput(
          validator: (value) {
            return value == validPin ? null : "Pin is incorrect";
          },
          onCompleted: (pin) {
            print('Success: $pin');
          },
          errorBuilder: (errorText, pin) {
            return Padding(
              padding: const EdgeInsets.symmetric(vertical: 10.0),
              child: Center(
                child: Text(
                  errorText ?? "",
                  style: const TextStyle(color: Colors.red),
                ),
              ),
            );
          },
        ),
        TextButton(
          onPressed: () {
            formKey.currentState!.validate();
          },
          child: const Text('Validate'),
        ),
      ],
    ),
  );
}
Running the Application
With everything set up, run your application using flutter run. You should see a verification screen with a PIN input field. Enter the correct PIN to validate and proceed.
Get Source Code for free:
Conclusion
In this tutorial, we learned how to implement a PIN input field in a Flutter application using the pinput package. We created a verification screen with a heading, subheading, phone number display, and a PIN input field with validation. This approach provides a clean and efficient way to handle PIN inputs in your app.
Happy coding!


Leave a Reply